There’s something so delightful about indulging in a sweet treat, especially when it's both adorable and delicious—like these Red Velvet Cake Pops! Picture this: a vibrant red cake, crumbled and blended with rich cream cheese frosting, transformed into bite-sized morsels of joy. The transformation happens effortlessly, making it perfect for both novice bakers and seasoned chefs looking to impress.
I first ventured into making these cake pops after a friend’s birthday party left me with a craving for rich, velvety flavors and a desire to create something unique. The surprise factor? These beautiful treats look sophisticated but can be whipped up in just a couple of hours. You're not just serving dessert; you're offering a fun treat that will transport your guests into sweet bliss with each delightful bite.
Whether you’re celebrating a special occasion or simply seeking a fun weekend project, these Red Velvet Cake Pops are a crowd-pleaser that will leave everyone asking for more. Let’s dive into the simplicity and joy of creating these irresistible gems!
Why You'll Love This Red Velvet Cake Pops
- These Red Velvet Cake Pops are incredibly easy to make, allowing both novice and experienced bakers to enjoy the fun of creating a delicious treat.
- With their rich, velvety flavor complemented by creamy frosting, they offer a delightful taste that everyone will love.
- Visually stunning, these cake pops are sure to impress your guests with their vibrant color and charming presentation.
- Perfect for any occasion, they are versatile enough to be a fun weekend project or a hit at parties and celebrations.
- They’re also a fantastic way to showcase your baking skills without spending hours in the kitchen, saving you time while still delighting everyone.
Red Velvet Cake Pops Ingredients
Here’s everything you’ll need to whip up these delightful treats!
For the Cake
- Red velvet cake mix – the base of your delicious Red Velvet Cake Pops, bringing that iconic flavor.
- Eggs – follow the package instructions for the best results; they'll add moisture and help bind the ingredients.
- Vegetable oil – for added richness and tenderness in your cake.
For the Frosting
- Cream cheese frosting – a creamy, luscious addition that pairs beautifully with the cake, keeping it moist and flavorful.
For the Coating
- White candy melts – the sweet and smooth outer layer that makes your cake pops irresistible; you can also use dark chocolate if preferred.
For Decoration
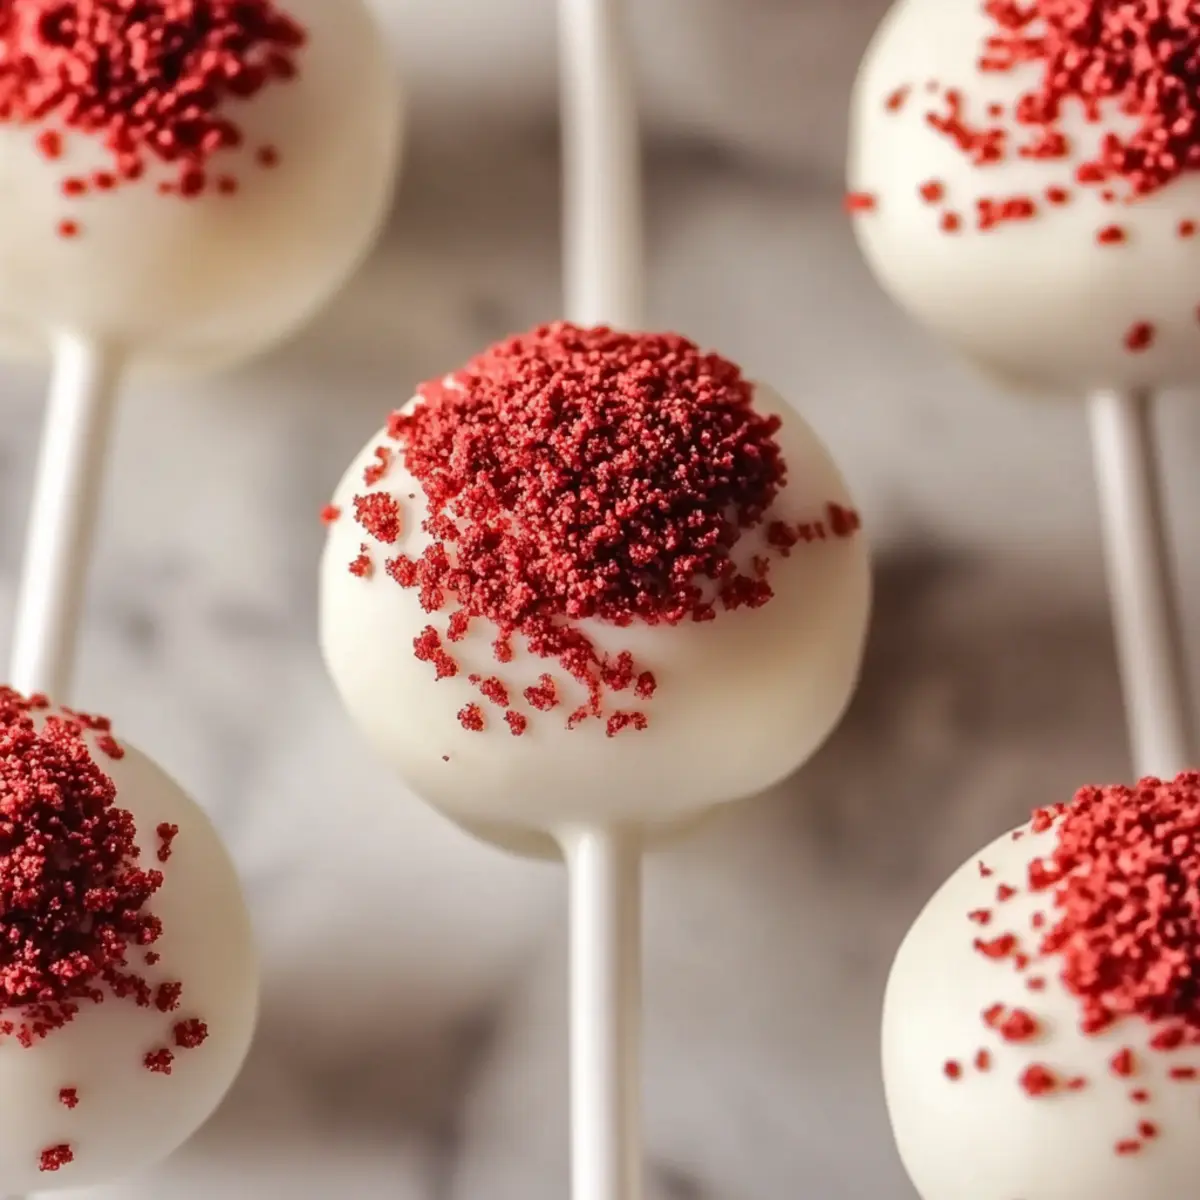
- Reserved cake crumbs – sprinkle these on top for an extra pop of color and texture to your delightful Red Velvet Cake Pops.

How to Make Red Velvet Cake Pops
-
Bake the Cake: Preheat your oven to 350°F and bake the red velvet cake according to the package directions. It’s done when a toothpick inserted comes out clean. Let it cool completely for easy crumbling.
-
Crumble the Cake: Once cooled, gently crumble the cake into a large bowl. Remember to reserve ½ cup of crumbs for decoration later; they’ll add a charming touch!
-
Mix with Frosting: Combine the remaining cake crumbs with the cream cheese frosting. Mix until the texture feels like play dough—this ensures your pops will hold together nicely.
-
Chill the Mixture: Cover the mixture and pop it in the freezer for about 30 minutes, or until chilled. This step makes rolling easier and helps the cake pops hold their shape.
-
Roll into Balls: Once chilled, scoop out portions and roll them into small balls, roughly the size of ping pong balls. Freeze again for about 15 minutes until they’re firm and ready for dipping.
-
Melt the Coating: While the balls firm up, melt the white candy melts in a microwave-safe bowl. Heat in short bursts, stirring in between, until smooth and glossy.
-
Insert Sticks: Dip the tip of each lollipop stick into the melted coating, then insert the stick into each cake ball. This little trick helps keep the stick secure. Freeze again for about 10 minutes to set.
-
Dip the Cake Pops: Dip each cake pop into the remaining melted coating, allowing the excess to drip off. Sprinkle with the reserved cake crumbs while the coating is still wet for that perfect finish.
-
Stand Upright: Finally, stand your cake pops upright in foam or a box until the coating hardens completely. Patience rewards you with beautifully set treats!
Optional: Drizzle with melted chocolate for an extra touch of sweetness.
Exact quantities are listed in the recipe card below.
What to Serve with Red Velvet Cake Pops?
Imagine the joy and sweetness of cake pops paired with complementary delights that elevate your dessert experience!
-
Vanilla Ice Cream: The creamy richness balances the cake pops’ sweetness, creating a dreamy combination that feels indulgent.
-
Fresh Berries: Juicy strawberries or tart raspberries add a burst of freshness and acidity, beautifully cutting through the cake pop richness.
-
Chocolate Fondue: Dip these delightful bites into warm chocolate for an interactive dessert experience; it’s sure to impress your guests!
-
Milkshake: A classic chocolate or vanilla milkshake pairs perfectly; the thick, creamy texture melds beautifully with the cake pops’ fun shape.
-
Coffee or Espresso: Sipping on a rich coffee brings out the flavors of the cake pops, creating a sophisticated touch and a lovely afternoon treat.
-
Savory Cheese Platter: A selection of cheeses with dried fruits and nuts offers a delightful contrast to the sweet cake pops, providing guests with a delightful balance.
-
Mini Cupcakes: Add layers of flavor and texture with mini cupcakes that echo the cake pop’s festive vibe, delighting your guests even further.
-
Sparkling Lemonade: The zesty, refreshing notes of sparkling lemonade contrast well with the sweetness of the cake pops, keeping the palate refreshed.
Red Velvet Cake Pops Variations
Feel free to unleash your creativity and customize these delicious treats to suit your taste or dietary needs!
-
Gluten-Free: Swap the red velvet cake mix for a gluten-free version, ensuring everyone can indulge without worries.
-
Nutty Crunch: Add crushed nuts, like pecans or walnuts, to the cake mixture for an inviting crunch and a delightful flavor contrast.
-
Chocolate-Dipped: Use dark or milk chocolate instead of white candy melts for a richer, deeper flavor. This twist will delight chocolate lovers!
-
Spicy Kick: Incorporate a pinch of cayenne pepper into your cake mixture for a surprising and exciting heat that pairs beautifully with the sweetness.
-
Vegan Version: Substitute eggs with flax eggs and use vegan cream cheese frosting to create a delightful plant-based option everyone can enjoy.
-
Seasonal Spice: Add a dash of cinnamon or nutmeg to the mix for a warm, seasonal touch that’ll awaken your senses during fall or winter celebrations.
-
Fruit Fusion: Fold in small pieces of crushed strawberries or raspberries into the cake mix for a fresh burst of flavor in every bite.
-
Rainbow Sprinkles: For a festive flair, mix in colorful sprinkles before rolling into balls, creating a fun and cheerful treat perfect for celebrations!
How to Store and Freeze Red Velvet Cake Pops
Room Temperature: Cake pops can be left out for up to 2 days at room temperature. Make sure they're in a cool, dry place to maintain their texture and flavor.
Fridge: To keep your Red Velvet Cake Pops fresh, store them in an airtight container in the fridge for up to 1 week. This helps maintain their moisture and taste.
Freezer: You can freeze your cake pops for up to 3 months. Wrap each one individually in plastic wrap and place them in a freezer bag to prevent freezer burn.
Reheating: If you prefer to enjoy them warm, let the frozen cake pops thaw in the fridge overnight before serving. Avoid reheating in the microwave, as it may affect the coating's texture.
Make Ahead Options
These Red Velvet Cake Pops are perfect for meal prep enthusiasts looking to save time during busy weeks! You can bake the cake and crumble it up to 24 hours in advance, storing it in an airtight container in the refrigerator to maintain its moisture. Additionally, you can mix the crumbled cake with cream cheese frosting and shape the mixture into balls ahead of time, freezing them for up to 3 days. Just make sure to tightly wrap the balls in plastic wrap to prevent freezer burn. When you’re ready to serve, simply melt the candy coating and dip the pops as instructed. Following these steps will yield delicious results, making your cake pops just as delightful and fresh as if they were made on the same day!
Chef's Helpful Tips
- When baking the Red Velvet Cake Pops, always ensure your oven is fully preheated to 350°F for even baking.
- A common mistake is not letting the cake cool completely before crumbling; this is crucial for the right texture and ease of mixing.
- When combining the cake crumbs with cream cheese frosting, aim for a dough-like consistency so the balls maintain their shape during rolling.
- Remember to chill the mixture for at least 30 minutes before forming the balls to make the process easier and achieve firm cake pops.
Red Velvet Cake Pops Recipe FAQs
How do I select the right cake mix for Red Velvet Cake Pops?
Absolutely! When choosing a red velvet cake mix, look for one with natural cocoa powder listed in the ingredients; it adds that rich flavor we're after. Additionally, check the expiration date to ensure freshness. Brands with simple ingredients tend to yield better results, and always choose one that excites you!
How should I store leftover Red Velvet Cake Pops?
To keep your delightful cake pops fresh, store them in an airtight container in the fridge for up to 1 week. Make sure they are completely cooled before sealing them to retain their moisture and avoid sogginess. If you decide to leave them out, they’re good for up to 2 days at room temperature, as long as they’re in a cool, dry spot.
Can I freeze Red Velvet Cake Pops?
Yes, indeed! Freezing cake pops is a great way to preserve their goodness. Wrap each pop tightly in plastic wrap, and then place them in a freezer bag. They can stay delicious for up to 3 months. When you're ready to enjoy them, just remove them from the freezer and let them thaw in the fridge overnight.
What should I do if my cake pops are crumbling?
If you find that your cake pops are crumbling or falling apart, it’s usually because the cake mixture is too dry. Start by adding a little more cream cheese frosting until the mixture holds together better—a bit like play dough. Also, be sure to allow the mixture to chill properly before rolling into balls, as this helps them keep their shape during dipping.
Are there any allergens I should consider with Red Velvet Cake Pops?
Very important! These delicious treats contain common allergens such as gluten (from the cake mix), dairy (in the cream cheese frosting), and eggs. If you're making these for someone with food allergies, consider using gluten-free cake mixes, vegan cream cheese frostings, and egg substitutes. Always read ingredient labels carefully to ensure they meet dietary needs.
How can I make my Red Velvet Cake Pops look even more appealing?
To add an extra cheerful touch, drizzle some melted dark chocolate or colored candy melts over the hardened cake pops after coating them. You can also decorate them with festive sprinkles or edible glitter for special occasions. Get creative with your presentation!
Red Velvet Cake Pops
Ingredients
Equipment
Method
- Preheat your oven to 350°F and bake the red velvet cake according to the package directions. It’s done when a toothpick inserted comes out clean. Let it cool completely for easy crumbling.
- Once cooled, gently crumble the cake into a large bowl. Remember to reserve ½ cup of crumbs for decoration later.
- Combine the remaining cake crumbs with the cream cheese frosting. Mix until the texture feels like play dough.
- Cover the mixture and pop it in the freezer for about 30 minutes, or until chilled.
- Once chilled, scoop out portions and roll them into small balls, roughly the size of ping pong balls. Freeze again for about 15 minutes.
- While the balls firm up, melt the white candy melts in a microwave-safe bowl.
- Dip the tip of each lollipop stick into the melted coating, then insert the stick into each cake ball. Freeze again for about 10 minutes to set.
- Dip each cake pop into the remaining melted coating, allowing the excess to drip off. Sprinkle with the reserved cake crumbs while the coating is still wet.
- Finally, stand your cake pops upright in foam or a box until the coating hardens completely.


Leave a Reply