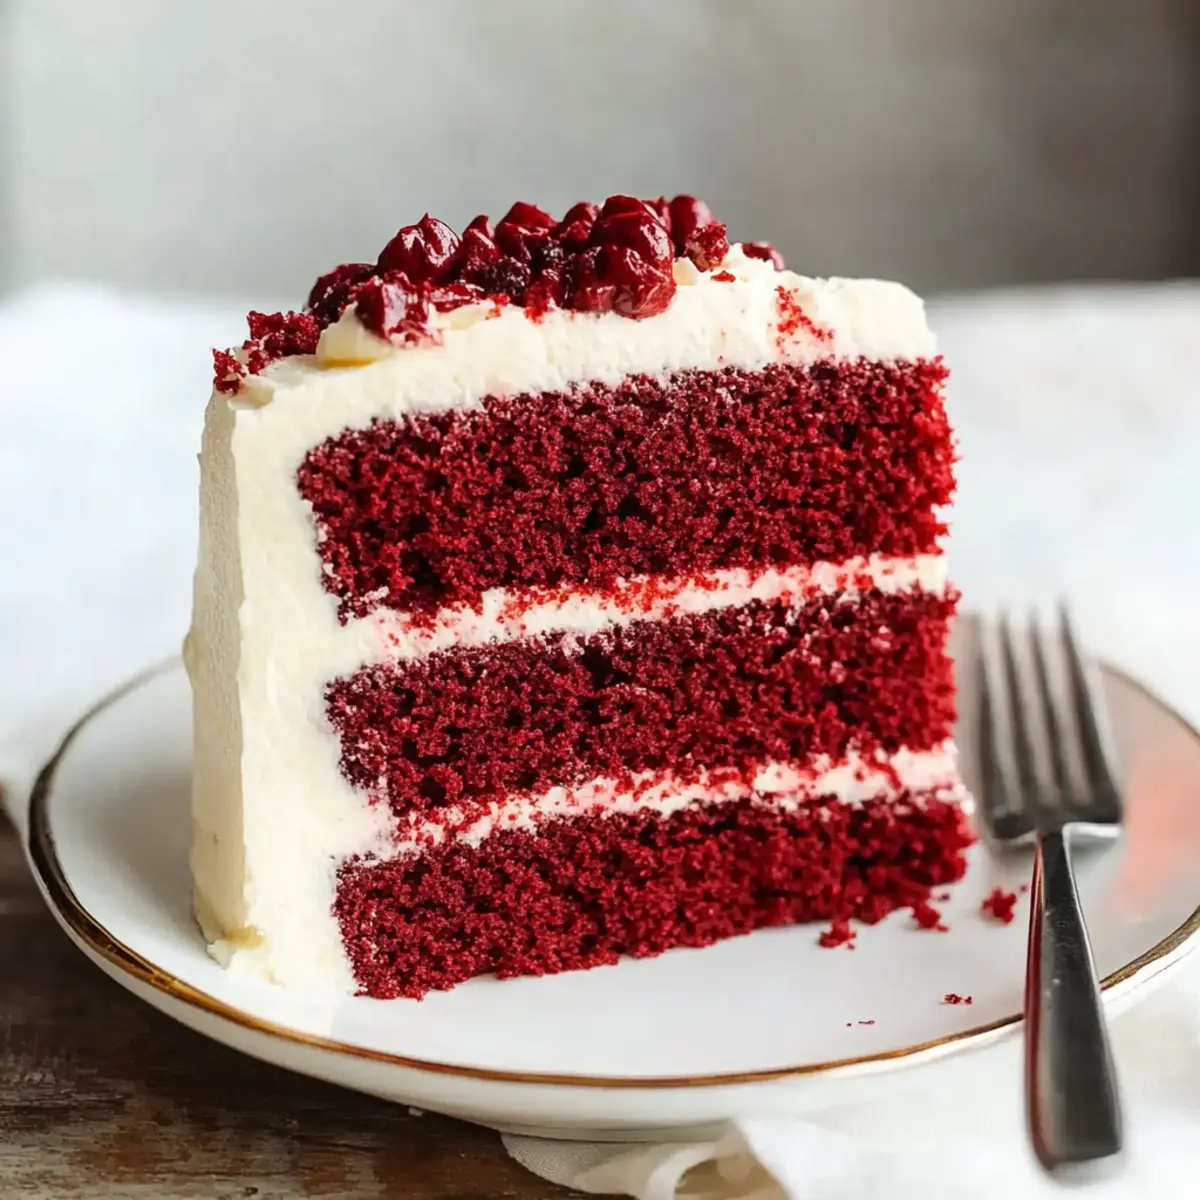
When I first tried a slice of Red Velvet Cake at a friend's birthday party, I was instantly captivated by its vibrant hue and velvety texture. The way that bright red layer contrasts with the luscious cream cheese frosting creates not just a treat for the taste buds but a feast for the eyes as well. As someone who often tires of the usual desserts, I found this cake to be a delightful surprise—rich, yet light, and so much more than just a simple cake.
After experimenting with different versions, I’ve finally perfected a recipe that balances ease and flavor while ensuring it’s approachable for anyone who loves homemade desserts. Whether you’re celebrating a special occasion or just craving something extraordinary on a regular Tuesday, this Red Velvet Cake promises to impress with its tender crumb and delightful frosting.
So, put on your apron, and let's dive into creating a cake that will have everyone asking for seconds!
Why You'll Love This Red Velvet Cake
- This Red Velvet Cake is incredibly easy to make, allowing you to whip up a delicious dessert without spending hours in the kitchen.
- The stunning red hue paired with decadent cream cheese frosting makes it visually appealing and perfect for any occasion.
- Its rich, velvety flavor is a crowd-pleaser that will have your family and friends raving about it long after the last slice is gone.
- Plus, this recipe is versatile enough to be enjoyed at birthday parties, holidays, or even as a special treat for yourself on a weekday.
Red Velvet Cake Ingredients
• Here’s everything you need to create a show-stopping Red Velvet Cake!
For the Cake
• ½ cup hot coffee or boiling water – enhances the cocoa flavor for a deeper taste.
• ¼ cup unsweetened natural cocoa powder – offers a subtle chocolate undertone that complements the cake beautifully.
• 2 ¼ cups all-purpose flour – forms the structure of your cake, ensuring a tender crumb.
• ½ teaspoon baking powder – provides a little lift to your cake for that perfect light texture.
• 1 teaspoon baking soda – reacts with vinegar to help the cake rise beautifully.
• 1 teaspoon fine sea salt – brings out the sweetness and balances flavors.
• ¼ teaspoon ground cinnamon (optional) – adds a hint of warmth and spice for depth of flavor.
• 2 cups granulated sugar – sweetens the cake perfectly, balancing the cocoa notes.
• ½ cup vegetable oil – keeps the cake moist and tender.
• 1 stick melted unsalted butter – adds rich flavor and moisture to the cake.
• 2 large eggs (room temp) – provide structure and stability.
• 1 large egg yolk (room temp) – adds richness to the batter for a velvety texture.
• 1 cup buttermilk (room temp) – contributes to the cake's moistness and tang.
• 2 teaspoon vanilla extract – enhances overall flavor for a delightful finish.
• 3 teaspoon red gel food coloring (or more) – gives that signature vibrant red hue—don’t be shy to adjust for intensity!
• 1 teaspoon distilled white vinegar – activates the baking soda for a perfect rise.
For the Frosting
• 16 oz cream cheese (room temp) – creates a rich and creamy frosting that pairs perfectly with the cake.
• 2 sticks unsalted butter (room temp) – provides a smooth, velvety base for your frosting.
• 2 teaspoon vanilla extract – enhances the flavor of the frosting beautifully.
• 4 cups sifted powdered sugar – sweetens and thickens the frosting to the right consistency.
Gather these ingredients and get ready to create a stunning Red Velvet Cake that will light up your celebrations!
How to Make Red Velvet Cake
-
Preheat your oven to 325°F and prepare three 8-inch cake pans by lining them with parchment paper and spraying with nonstick spray. This ensures your cakes come out perfectly every time!
-
Whisk together hot coffee and cocoa powder in a bowl until smooth and set aside. This concoction deepens the flavor and enhances the cake’s rich chocolate notes.
-
Sift flour, baking powder, baking soda, salt, and optional cinnamon into another bowl. This helps combine the dry ingredients evenly, ensuring a light, fluffy cake texture.
-
Combine sugar, vegetable oil, and melted butter in a large bowl. Whisk in the eggs and yolk until smooth, creating a rich and inviting batter.
-
Stir in buttermilk, vanilla extract, and red food coloring until well blended, transforming your mixture into a vibrant red delight.
-
Add vinegar and the coffee-cocoa mixture, mixing until everything is combined beautifully. Be sure to scrape the sides of the bowl for a thorough mix!
-
Fold in the dry ingredients in three additions, mixing gently each time to maintain airiness. Your batter should be smooth and velvety now!
-
Divide the batter evenly among the prepared pans. Tap the pans lightly on the counter to remove any air bubbles that may have formed.
-
Bake for 25–30 minutes, or until a toothpick inserted in the center comes out clean. The cakes should spring back when lightly pressed.
-
Cool in the pans for 10 minutes before carefully inverting onto a wire rack to cool completely. This resting period is crucial for the cakes to set properly.
-
Beat cream cheese and butter in a bowl until smooth, forming the base for your luscious frosting. Make sure both are at room temperature for the best texture!
-
Add vanilla extract and gradually mix in powdered sugar until the frosting is airy and fluffy. Taste and adjust sweetness if you'd like!
-
Assemble your cake by placing one layer on a serving platter, spreading frosting generously on top, and repeating with the next layer. Cover the sides evenly for a beautiful finish.
-
Chill the assembled cake in the refrigerator for 30 minutes before slicing to ensure neat edges when you serve. Your patience will be rewarded when you see those perfect slices!
Optional: Garnish with red velvet cake crumbs on top for an elegant touch.
Exact quantities are listed in the recipe card below.
Make Ahead Options
Prepare your Red Velvet Cake in advance and save valuable time for those busy days! You can mix the batter up to 24 hours ahead of baking—just cover it tightly and refrigerate to prevent browning of the ingredients. The baked cake layers can be wrapped in plastic wrap and stored at room temperature for up to 3 days; this helps to maintain their moisture and softness. For the frosting, make it a day early and refrigerate it as well, ensuring it’s in an airtight container to keep it fresh. When you're ready to serve, simply frost the cooled cake layers and chill for about 30 minutes for neat slicing. This way, you’ll enjoy impressive, homemade results without the last-minute fuss!
How to Store and Freeze Red Velvet Cake
Room Temperature: Store cool, unfrosted Red Velvet Cake in an airtight container for up to 2 days. This will help maintain its moisture and flavor.
Fridge: If frosted, keep it in the refrigerator for up to 5 days. Cover loosely with plastic wrap to prevent the frosting from drying out while retaining that delicious creaminess.
Freezer: Freeze individual slices or the whole cake wrapped tightly in plastic wrap followed by aluminum foil for up to 3 months. Thaw in the fridge overnight before serving for best results.
Reheating: If you prefer a warm slice, pop it in the microwave for 10-15 seconds. Just enough to take the chill off while keeping that rich flavor intact!
Red Velvet Cake Variations
Feel free to unleash your creativity and personalize this delightful cake in ways that cater to your taste preferences!
- Gluten-Free: Substitute gluten-free flour blend for all-purpose flour to create a cake everyone can enjoy without sacrificing flavor.
- Chocolate Lovers: Add ½ cup of chocolate chips to the batter for an extra layer of deliciousness that melts in your mouth.
- Nutty Texture: Fold in 1 cup of chopped walnuts or pecans for a delightful crunch that complements the soft cake beautifully.
- Spiced: Enhance the flavor by adding ½ teaspoon of nutmeg and ½ teaspoon of ginger to give your cake a warm, spiced twist.
- Zesty Lemon Frosting: Substitute lemon extract in place of vanilla in your frosting for a bright, citrusy zing that pairs well with red velvet.
- Vegan Option: Replace eggs with flaxseed meal and include almond or soy milk instead of buttermilk for a plant-based version that still delights!
- Coconut Cream: Use coconut cream instead of butter in the frosting for a tropical-inspired touch that adds richness and flavor.
- Spicy Kick: Mix in a teaspoon of cayenne pepper to the batter for an unexpected but delightful kick that many will love!
These variations invite you to explore and reinvent your Red Velvet Cake experience, making it truly unique for every occasion!
What to Serve with Red Velvet Cake?
The perfect meal is only enhanced by the right accompaniments, and this striking dessert shines even brighter alongside thoughtful pairings.
-
Fresh Berries: Their natural sweetness and tartness beautifully complement the rich and creamy flavors of the cake, adding a pop of color to your plate.
-
Whipped Cream: A dollop of gently whipped cream adds lightness and texture, balancing the cake's dense layers while enhancing its indulgence.
-
Coffee or Espresso: A hot cup brings out the deep cocoa notes, making each bite more robust and memorable, perfect for cake lovers.
-
Chocolate-Covered Strawberries: These decadent bites elevate the dessert experience by contrasting the cake's flavors with romantic chocolate over juicy strawberries.
-
Milk or Plant-Based Milks: The simple richness of cold milk is a nostalgic pairing that quenches the taste buds, enhancing the cake’s flavor profile—excellent for kids!
-
Scoop of Vanilla Ice Cream: Creamy vanilla ice cream melts into the cake, creating a delightful, dreamy dessert that balances the cake’s sweetness.
-
Nutty Chardonay: A glass of this white wine offers refreshing acidity that beautifully cuts through the richness while harmonizing with the cake.
-
Almond Biscotti: This crunchy treat provides a wonderful texture contrast, making each bite of cake even more interesting and enjoyable.
Let your taste buds embark on this delightful journey with a spread that matches the charm of Red Velvet Cake!
Chef's Helpful Tips
- When making Red Velvet Cake, ensure your ingredients like eggs and buttermilk are at room temperature for better incorporation and a smoother batter.
- A common mistake is overmixing the batter, so fold in the dry ingredients gently to maintain the cake's airy texture.
- Utilize hot coffee to enhance the cocoa flavor, making your cake more rich and flavorful while also intensifying the red color.
- Keep a close eye on baking time, as cakes can dry out if overbaked; the toothpick should come out clean when inserted into the center.
Red Velvet Cake Recipe FAQs
What’s the best way to select ripe ingredients for my Red Velvet Cake?
Absolutely! For the best results, choose fresh, room-temperature eggs and buttermilk to ensure proper emulsification in the batter. When selecting your cocoa powder, aim for high-quality, unsweetened varieties, as they contribute significantly to the cake's flavor. It's also great to use vibrant red gel food coloring instead of liquid for a more concentrated hue—just remember to check the expiration date!
How should I store my Red Velvet Cake?
For unfrosted cakes, I recommend keeping them in an airtight container at room temperature for up to 2 days. If your cake is frosted, store it in the fridge for up to 5 days, ensuring to cover it loosely with plastic wrap to prevent the frosting from drying out. This way, your delightful dessert stays moist and delicious!
Can I freeze my Red Velvet Cake?
Very! You can absolutely freeze your Red Velvet Cake. Wrap it tightly in plastic wrap and then in aluminum foil to prevent freezer burn, storing it for up to 3 months. If you plan to freeze individual slices, cut the cake before wrapping for easy serving later. To enjoy, simply thaw the cake in the fridge overnight, or if you’re eager, let it sit at room temperature for an hour.
What should I do if my Red Velvet Cake is too dense?
If your cake turns out denser than expected, it’s often a result of overmixing the batter, preventing air from creating that light texture. Next time, be gentle when folding in dry ingredients and stop mixing once they are just incorporated. Additionally, make sure your baking soda and powder are fresh; expired leavening agents can also affect the rise of your cake.
Are there any dietary considerations for my Red Velvet Cake?
Definitely! If you're baking for guests with specific dietary needs, you can substitute the all-purpose flour with gluten-free flour blends, and use plant-based butter and cream cheese alternatives for a dairy-free option. Just remember that these substitutes may slightly alter the flavor and texture, but they can still yield a delicious cake!
Can I make the cake ahead of time for a special occasion?
Certainly! I often make my Red Velvet Cake a day in advance to allow the flavors to mature beautifully. Once baked and completely cooled, wrap the layers tightly and store them in the fridge. Frost just before serving for the freshest taste, or if you prefer, frost the layers and chill them in the refrigerator for up to a day for easy assembly!
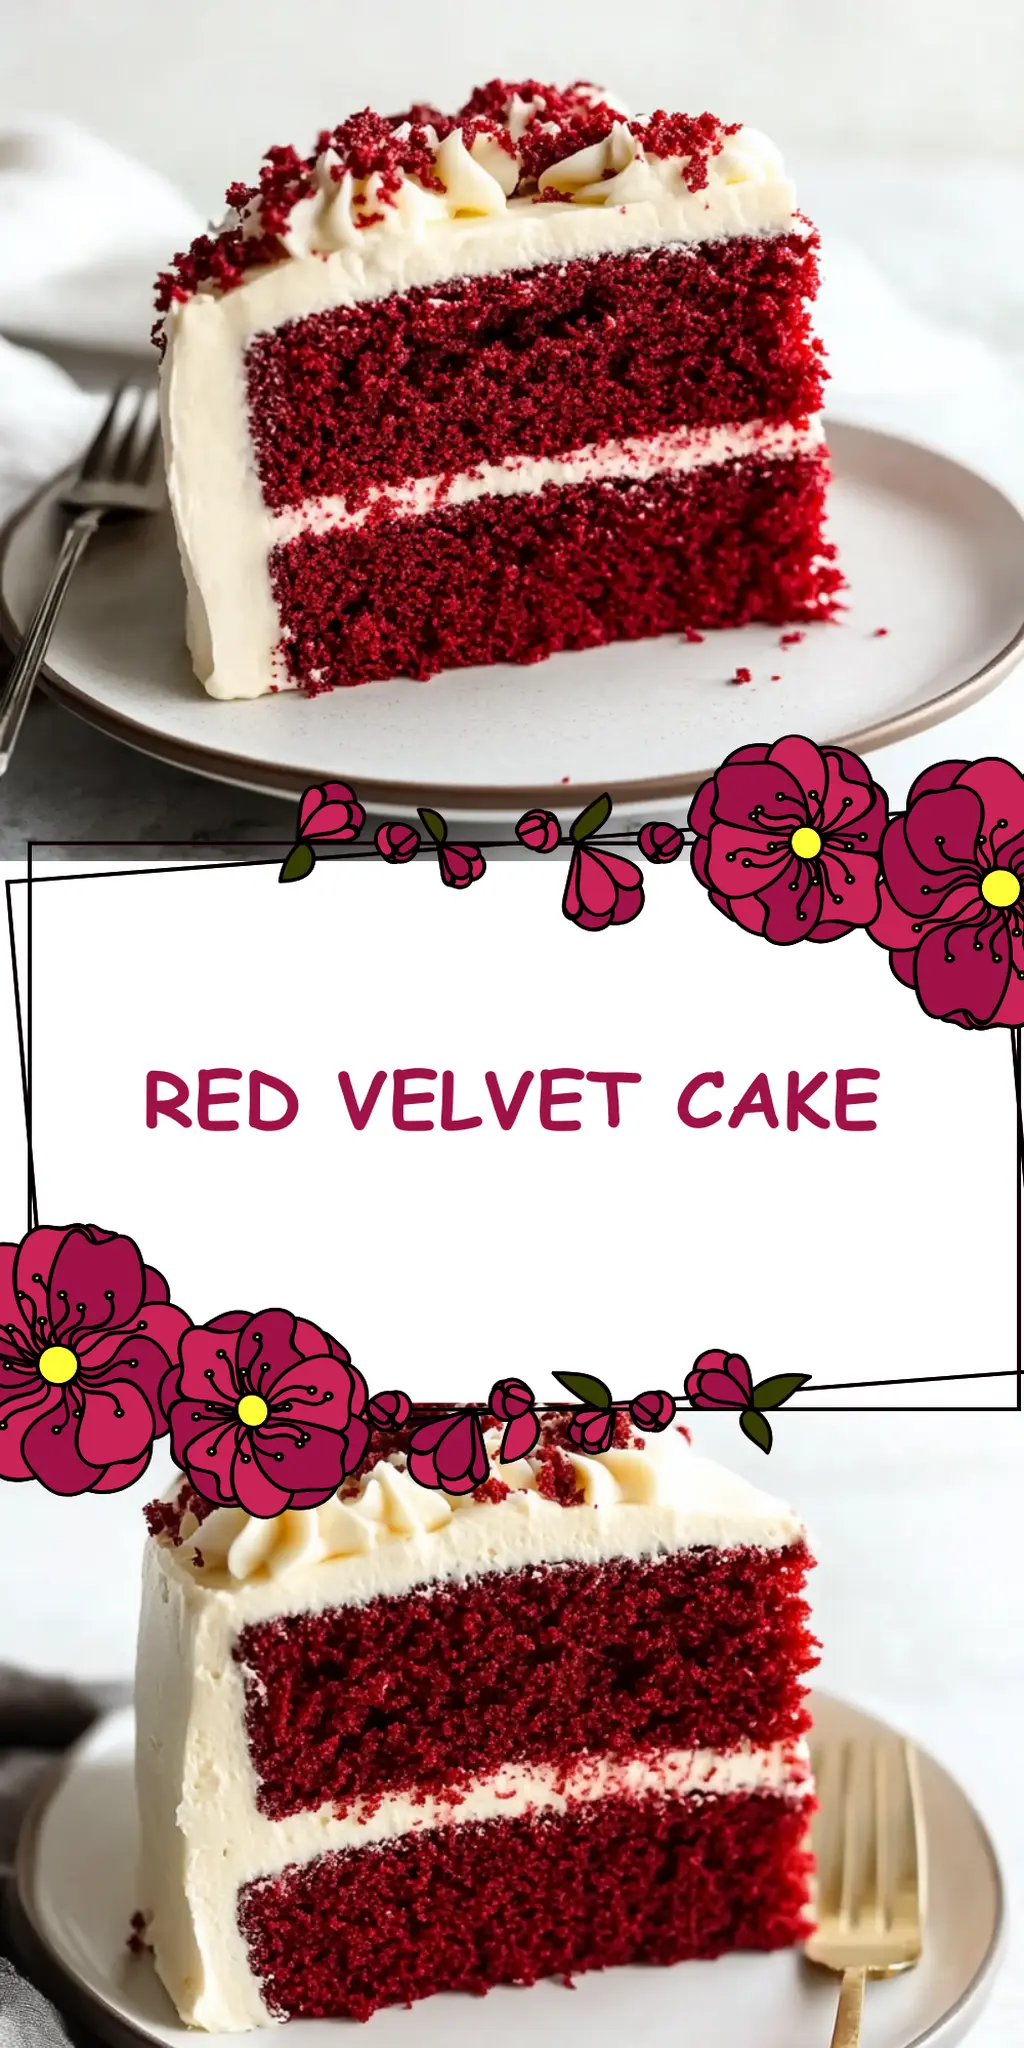
Red Velvet Cake
Ingredients
Equipment
Method
- Preheat your oven to 325°F and prepare three 8-inch cake pans by lining them with parchment paper and spraying with nonstick spray.
- Whisk together hot coffee and cocoa powder in a bowl until smooth and set aside.
- Sift flour, baking powder, baking soda, salt, and optional cinnamon into another bowl.
- Combine sugar, vegetable oil, and melted butter in a large bowl. Whisk in the eggs and yolk until smooth.
- Stir in buttermilk, vanilla extract, and red food coloring until well blended.
- Add vinegar and the coffee-cocoa mixture, mixing until everything is combined.
- Fold in the dry ingredients in three additions, mixing gently each time.
- Divide the batter evenly among the prepared pans.
- Bake for 25–30 minutes, or until a toothpick inserted in the center comes out clean.
- Cool in the pans for 10 minutes before inverting onto a wire rack to cool completely.
- Beat cream cheese and butter in a bowl until smooth.
- Add vanilla extract and gradually mix in powdered sugar until the frosting is airy and fluffy.
- Assemble your cake by placing one layer on a serving platter, spreading frosting generously on top, and repeating with the next layer.
- Chill the assembled cake in the refrigerator for 30 minutes before slicing.


Leave a Reply