There’s something truly captivating about the vibrant red hue of a Red Velvet Cake. The moment you pull it from the oven, the sweet, chocolatey aroma envelops your kitchen, teasing your senses as you anticipate the first slice. I first discovered this delightful dessert at a family gathering, where it stole the show alongside lush cream cheese frosting.
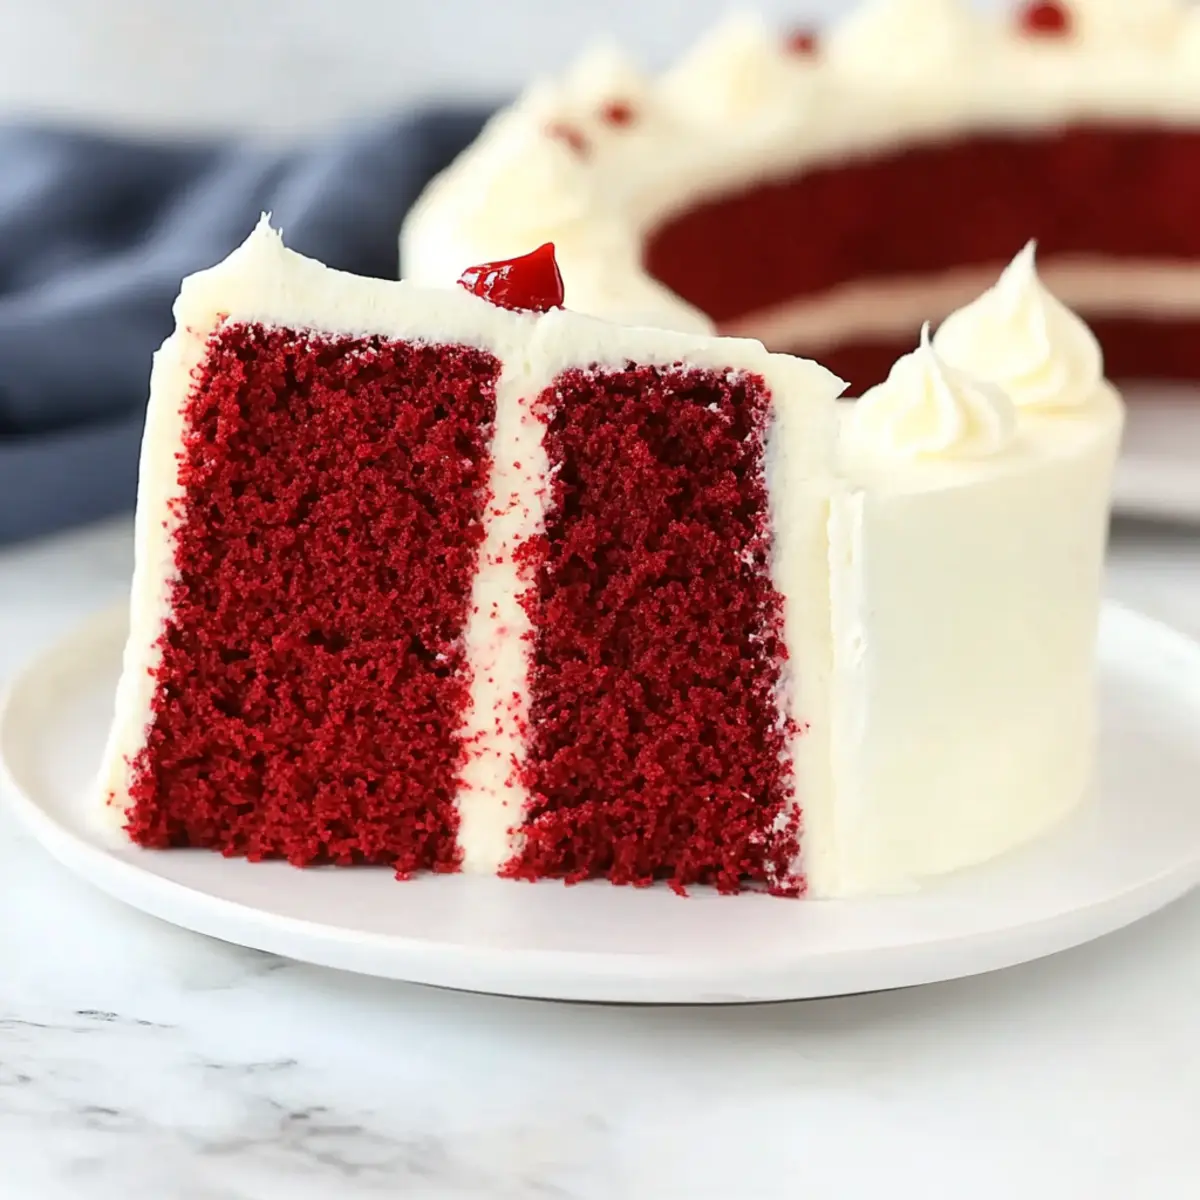
Eager to recreate that unforgettable experience at home, I realized that making a stunning Red Velvet Cake is not just for special occasions; it can quickly become a beloved staple in your baking repertoire. This recipe strikes the perfect balance between rich flavors and a velvety texture, turning every bite into a celebration. Plus, with simple ingredients and straightforward steps, it’s an accessible treat that eliminates the need for boring fast food desserts. Let’s dive in and elevate your baking skills with a classic that’s sure to impress friends and family alike!
Why You'll Love This Red Velvet Cake
- This Red Velvet Cake is incredibly easy to make, so anyone can whip it up in no time.
- The rich chocolate flavor combined with the creamy frosting creates a heavenly taste sensation that will leave your taste buds dancing.
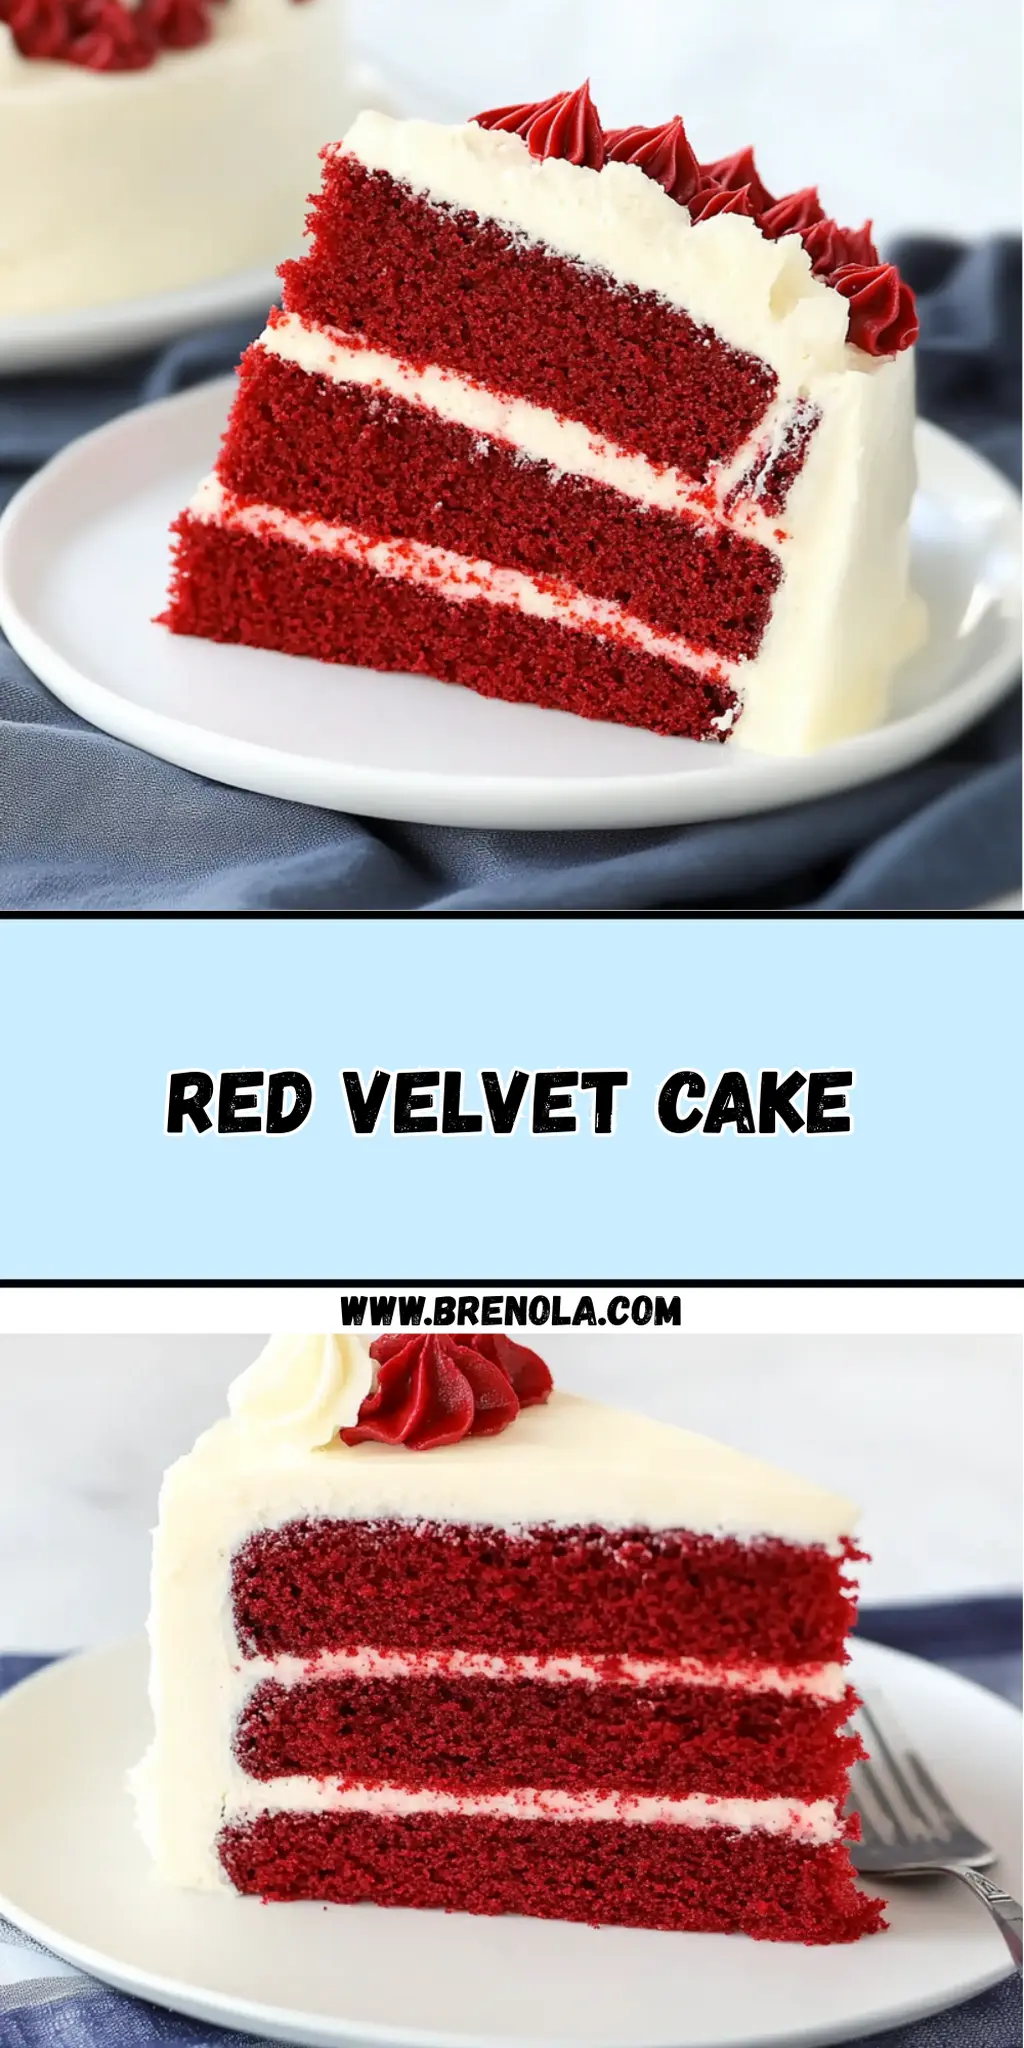
- Its striking red color makes it a stunning centerpiece for any gathering, ensuring your dessert table stands out.
- Plus, this recipe is versatile enough to accommodate various occasions, from birthdays to holidays, making it a go-to favorite for all your celebratory needs.
- It’s a true crowd-pleaser that will leave your friends and family asking for seconds.
Red Velvet Cake Ingredients
Discover what makes this Red Velvet Cake truly unforgettable!
For the Cake
- All-purpose flour – perfect for structure and tenderness.
- Granulated sugar – sweetens the cake for that delightful flavor balance.
- Cocoa powder – adds a hint of chocolate without overpowering.
- Salt – enhances the flavors of the other ingredients.
- Baking soda – provides the lift needed for a fluffy texture.
- Eggs – room temperature eggs help create a richer, smoother batter.
- Vegetable oil – ensures moisture and tenderness in every slice.
- Buttermilk – contributes to the cake's rich flavor and soft crumb.
- White vinegar – reacts with the baking soda for that perfect rise.
- Unsalted butter – provides richness; make sure it’s melted (not too hot).
- Vanilla extract – adds warmth and depth to the cake's flavor.
- Red gel food coloring – gives the cake its signature vibrant hue.
For the Frosting
- Cream cheese – creates a creamy, luscious frosting essential for flavor.
- Unsalted butter – keeps the frosting smooth and rich.
- Vanilla extract – adds an extra layer of flavor to the frosting.
- Salt – balances the sweetness for a harmonious taste.
- Powdered sugar – sweetens and thickens the frosting for easy spreadability.
This Red Velvet Cake will surely make your dessert table shine!
How to Make Red Velvet Cake
-
Preheat your oven to 335ºF (168ºC). While it heats, prepare two 8×2 inch cake pans by coating them with pan release or lining them with parchment paper to ensure easy removal.
-
Whisk together the wet ingredients in a medium bowl. Combine eggs, vegetable oil, buttermilk, vinegar, melted butter, vanilla extract, and red food coloring until smooth and well-blended.
-
Mix dry ingredients in a stand mixer. Combine flour, sugar, cocoa powder, salt, and baking soda on low speed to combine the dry elements thoroughly.
-
Combine wet and dry ingredients. Slowly pour the wet mixture into the dry ingredients while mixing on medium speed, making sure to scrape the bowl once to ensure an even blend until smooth.
-
Divide the batter evenly between the prepared cake pans. This will ensure uniform baking and help maintain a beautiful appearance.
-
Bake the cakes for 35–40 minutes. Check for doneness by inserting a toothpick into the center; it should come out clean when the cakes are ready.
-
Cool the cakes in the pans for 10 minutes. After that, carefully transfer them to wire racks to cool completely—this helps maintain their fluffy texture!
-
Freeze layers if frosting the same day. Place the cooled cake layers in the freezer for 1 hour unwrapped. If you're frosting later, wrap and freeze the layers for up to one week.
-
For frosting: Start by beating the softened butter on low until smooth. Then, mix in the softened cream cheese until they blend together seamlessly.
-
Add the powdered sugar gradually, one cup at a time, mixing slowly to avoid a sugar cloud. Finally, add vanilla extract and salt, mixing until the frosting achieves a creamy and luscious consistency.
Optional: Garnish with chocolate shavings for added elegance!
Exact quantities are listed in the recipe card below.
Red Velvet Cake Variations
Feel free to unleash your creativity and customize this beloved dessert to perfectly suit your taste!
-
Dairy-Free: Substitute buttermilk with almond or soy milk combined with a splash of lemon juice for creaminess. This keeps the cake fluffy while making it dairy-free.
-
Vegan: Replace eggs with flax eggs (1 tablespoon flaxseed meal + 2.5 tablespoon water per egg) and use a plant-based butter for frosting. You’ll be amazed at how just a few swaps can still create a delightfully rich cake.
-
Gluten-Free: Swap all-purpose flour with a gluten-free baking blend, ensuring a light and equally scrumptious cake. Just check that your baking powder is gluten-free, and you're good to go!
-
Chocolate Twist: Elevate the chocolate flavor by adding an extra tablespoon of cocoa powder into the batter. This creates an irresistible chocolate experience in every bite!
-
Spiced Up: Incorporate a teaspoon of cinnamon for a warm, spicy kick. Perfect for those chilly evenings, this variation gives your cake a cozy feel without overpowering its signature flavor.
-
Lemon Zest: Add a tablespoon of lemon zest to the batter for a bright, citrusy note that balances the cake's sweetness. The freshness will surprise and delight your guests!
-
Nutty Crunch: Fold in a half cup of chopped walnuts or pecans into the batter for added texture. The nuttiness adds depth and a satisfying crunch, making every slice more indulgent.
-
Layered Delight: Transform this cake into a spectacular layered dessert by slicing the cake layers horizontally and adding your favorite jam or fruit compote between layers. It's visually stunning and incredibly delicious!
Experimenting with these variations is a fantastic way to make this classic cake uniquely yours. Enjoy every delicious moment!
What to Serve with Red Velvet Cake?
Imagine the joy of a beautifully decorated dessert table, enhanced by delightful pairings that elevate your Red Velvet Cake experience. The perfect side dishes and drinks can complement this striking cake, making every slice more memorable.
-
Fresh Berries: Their tartness balances the cake's sweetness while adding a pop of color to your plate. Serve with a dollop of whipped cream for a delightful contrast.
-
Velvet Vanilla Ice Cream: This creamy treat melts into the cake's rich layers, creating a decadently smooth texture that's irresistible on a warm day.
-
Chocolate Covered Strawberries: Their luscious sweetness and satisfying crunch create a fun combination with the soft, velvety cake.
-
Creamy Cheesecake Mousse: The smooth, rich flavors of this mousse echo the cream cheese frosting, creating a harmonious dessert duo.
-
Mimosa: A refreshing drink like this pairs perfectly with the cake's richness, offering a bubbly lift that delights the senses during any celebration.
-
Espresso or Coffee: The warm, bold flavors of coffee provide a delightful contrast to the sweetness of Red Velvet Cake, making every bite more satisfying.
-
Pecan Pie Bites: Their nutty crunch and caramelized sweetness complement the cake's flavor profile without overshadowing it, providing a diverse range of desserts.
Let these delightful pairings inspire you, transforming your Red Velvet Cake into an unforgettable feast for the senses!
How to Store and Freeze Red Velvet Cake
Room Temperature: Store the frosted cake at room temperature for up to 3 days in an airtight container to keep it moist and delicious.
Fridge: If storing leftover Red Velvet Cake, keep it in the fridge for up to 5 days, covered tightly to prevent drying out.
Freezer: For longer storage, wrap the layers in plastic wrap and foil, freezing them for up to one week. This helps preserve flavor and texture until you’re ready to enjoy!
Reheating: Thaw frozen layers in the fridge overnight, and bring to room temperature before frosting or serving for the best taste experience.
Make Ahead Options
These Red Velvet Cake layers are perfect for busy home cooks looking to save time during the week! You can prepare the cake batter up to 24 hours in advance and refrigerate it in an airtight container. Just be sure to give it a gentle stir before baking to reincorporate any ingredients that may have settled. Additionally, once baked, the cake layers can be wrapped tightly and frozen for up to one week. When you’re ready to enjoy, simply thaw them in the refrigerator overnight. For the frosting, it can also be made ahead and stored in the refrigerator for up to 3 days; just give it a quick mix before using. This means you'll have delicious, homemade Red Velvet Cake ready to impress with minimal effort on the day of serving!
Chef's Helpful Tips
- For the best results when making Red Velvet Cake, always use room temperature ingredients; this allows for better emulsification and a smoother batter.
- A common mistake is over-mixing the batter; instead, mix until just combined to avoid a dense texture.
- When measuring flour, spoon it into the measuring cup and level it off with a knife to prevent compacting, which can lead to a dry cake.
- Lastly, bake until the toothpick comes out clean but avoid opening the oven door frequently, as this can cause the cake to sink.
Red Velvet Cake Recipe FAQs
How do I know if my red velvet cake ingredients are fresh?
To ensure your ingredients are fresh, check the expiration dates on your baking powder and baking soda; they should be active and not expired. For eggs, they should be free of any off-smell and ideally used within 3-4 weeks of purchase. As for buttermilk, give it a sniff—if it smells sour, it's best to toss it out!
What’s the best way to store leftover Red Velvet Cake?
To store your leftover Red Velvet Cake, place it in an airtight container at room temperature for up to 3 days. If you prefer, you can keep it in the refrigerator for up to 5 days—make sure it’s tightly covered to prevent it from drying out. For extended storage, I often wrap individual slices in plastic wrap and foil, allowing them to stay fresh.
Can I freeze Red Velvet Cake?
Absolutely! To freeze your Red Velvet Cake layers, wrap each cooled layer tightly in plastic wrap and then in foil. This method protects it from freezer burn, allowing it to stay fresh for up to a week. When you’re ready to serve, simply thaw in the refrigerator overnight and bring to room temperature before frosting or enjoying.
What should I do if my cake sinks in the middle?
If your red velvet cake sinks, it could be due to underbaking, excessive leavening, or overmixing the batter. To avoid this, always use an oven thermometer to ensure the correct baking temperature and bake until a toothpick comes out clean from the center. If you suspect you've overmixed, be gentle next time; mix just until combined for a light, fluffy texture!
Are there any dietary considerations for this Red Velvet Cake?
Yes, this cake contains dairy and gluten, which may pose issues for those with allergies or dietary restrictions. For a dairy-free option, substitute non-dairy milk and vegan butter in the recipe. Additionally, using gluten-free all-purpose flour can make this cake suitable for gluten-sensitive individuals. Always check labels for hidden allergens!
How can I make my frosting less sweet?
If you find the cream cheese frosting too sweet for your liking, consider adding a pinch more salt to balance the sweetness, or fold in a bit of unsweetened cocoa powder to introduce a chocolatey flavor. Also, you might reduce the sugar by a half-cup, but be mindful that this might alter the consistency slightly.
Red Velvet Cake
Ingredients
Equipment
Method
- Preheat your oven to 335ºF (168ºC) and prepare two 8×2 inch cake pans.
- Whisk together the wet ingredients including eggs, vegetable oil, buttermilk, vinegar, melted butter, vanilla extract, and red food coloring.
- Mix dry ingredients such as flour, sugar, cocoa powder, salt, and baking soda in a stand mixer on low speed.
- Combine the wet and dry ingredients, mixing on medium speed until smooth.
- Divide the batter evenly between the prepared cake pans.
- Bake for 35–40 minutes and check for doneness with a toothpick.
- Cool the cakes in the pans for 10 minutes, then transfer to wire racks to cool completely.
- Freeze layers if frosting the same day for 1 hour unwrapped.
- For frosting, beat the softened butter until smooth, then mix in cream cheese.
- Add powdered sugar gradually, then mix in vanilla extract and salt until creamy.


Leave a Reply