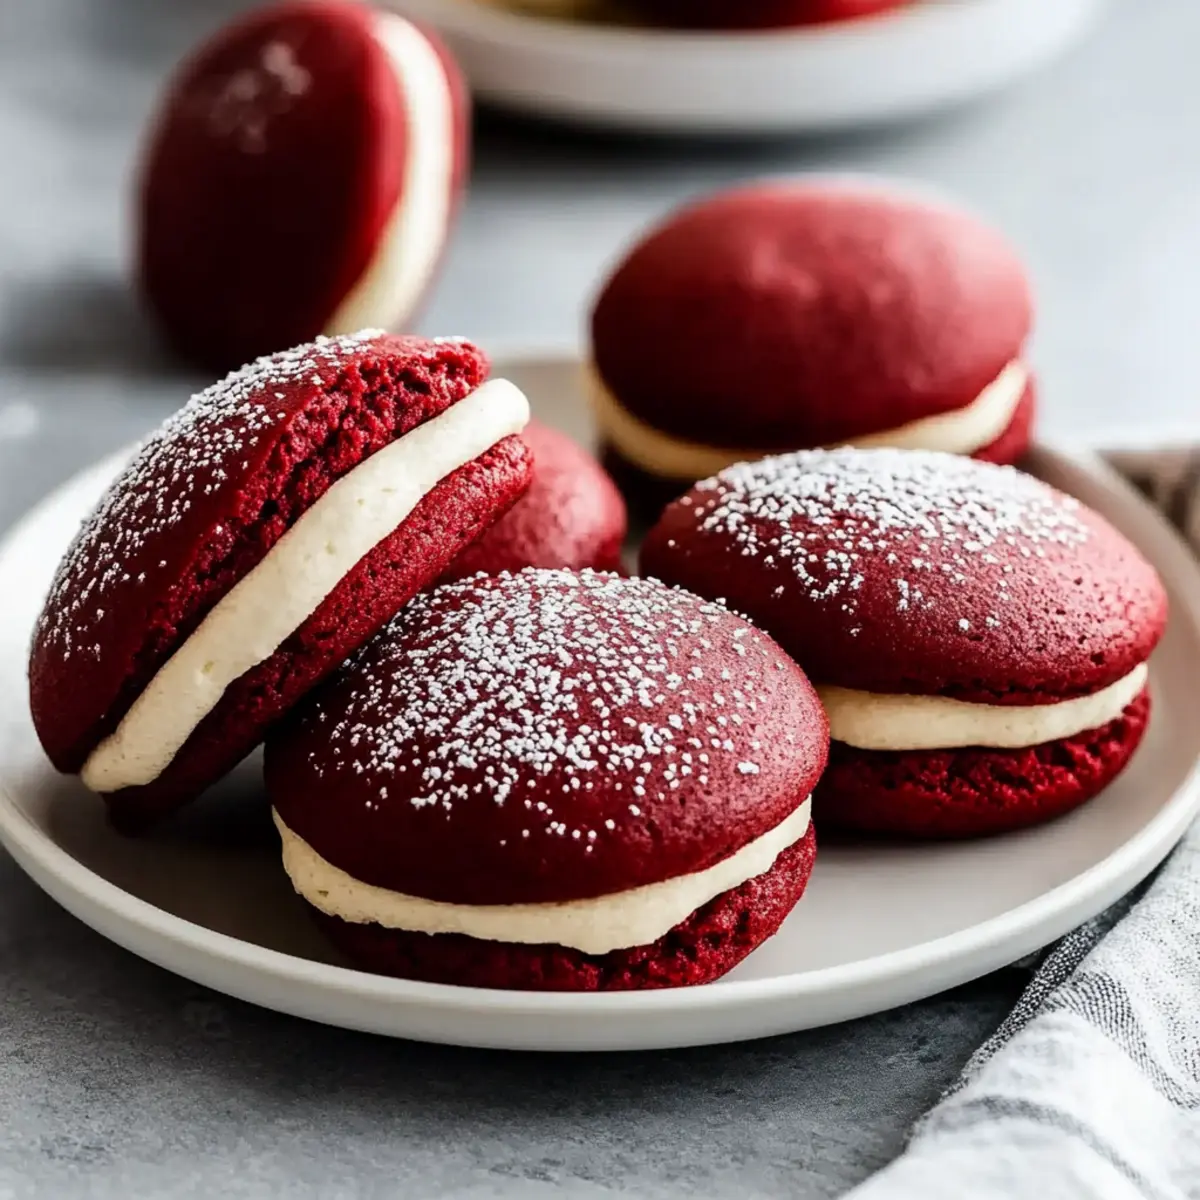
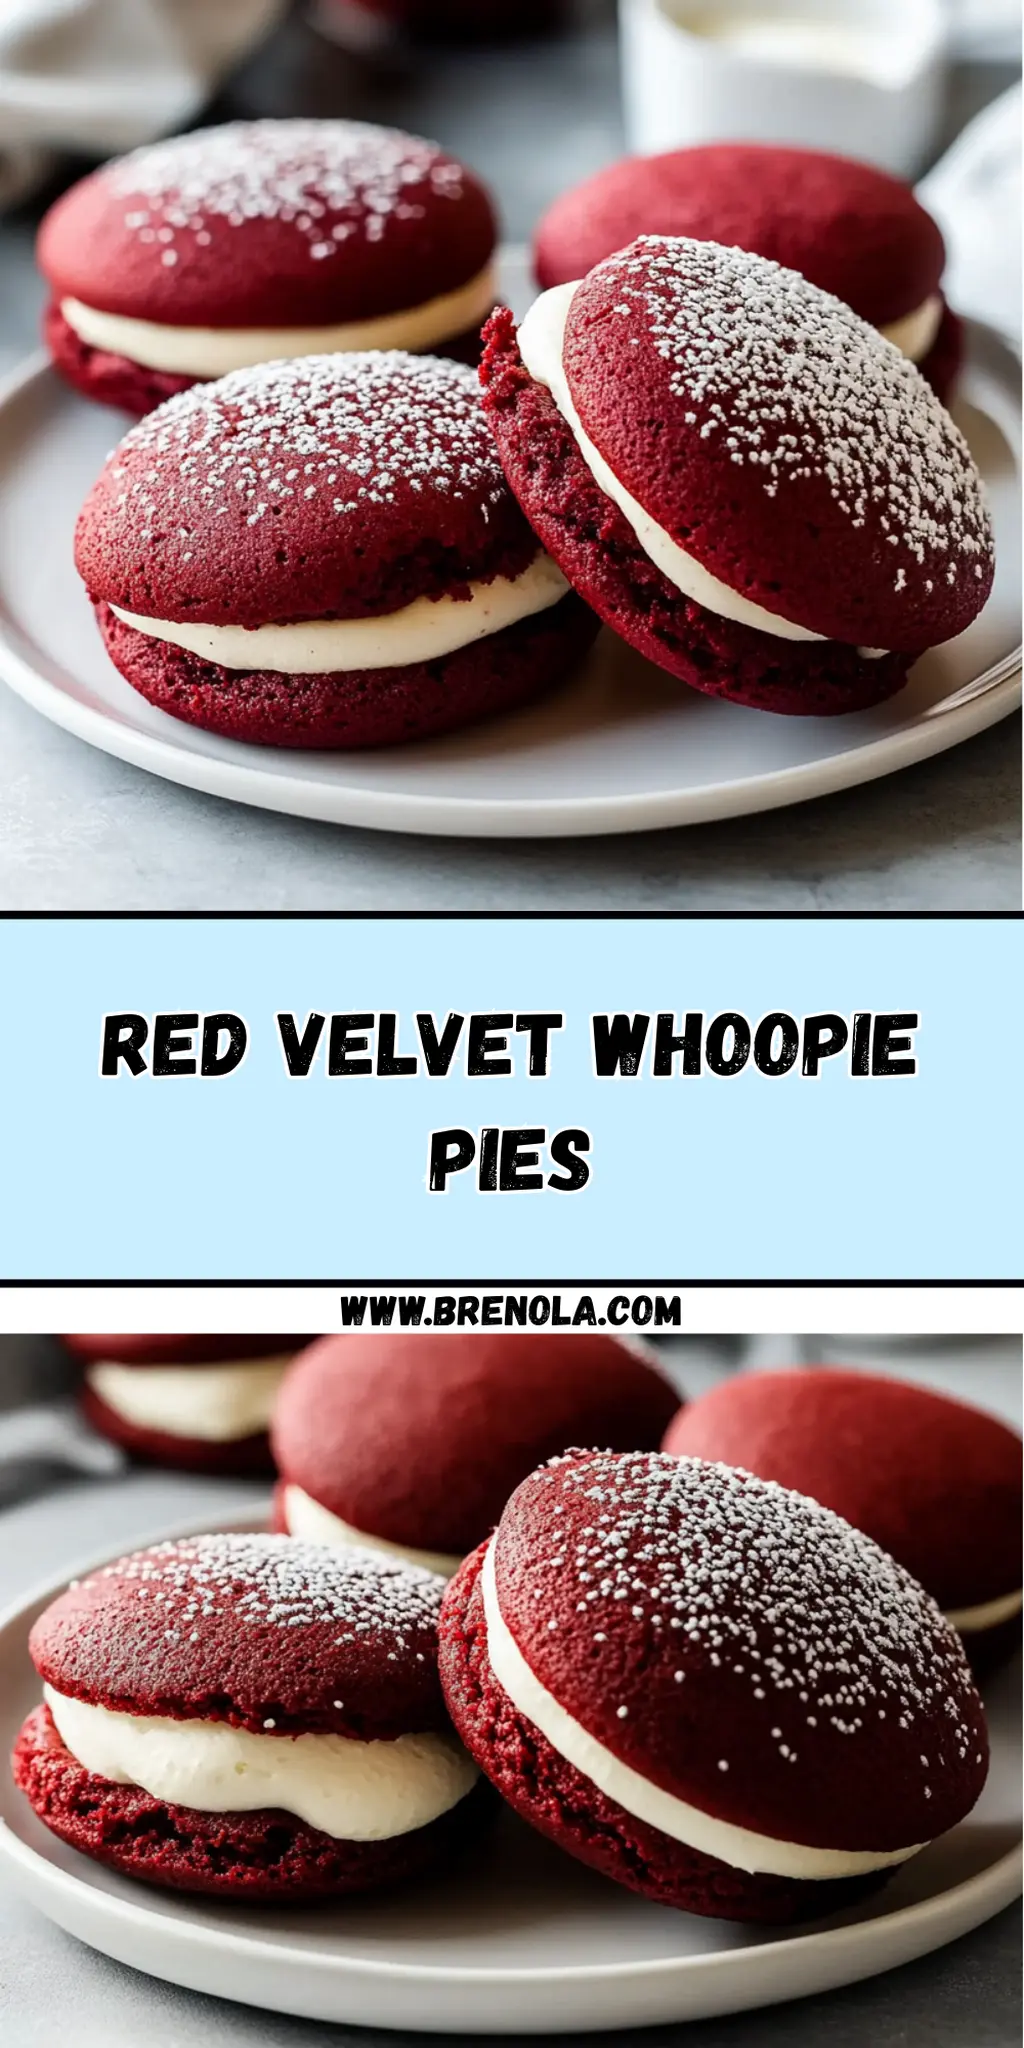
When the brisk winds of fall begin to sweep through my neighborhood, there's nothing quite like cozying up with a sweet treat that warms both the heart and the soul. Enter Red Velvet Whoopie Pies—a stunningly vibrant dessert that not only looks the part but tastes indulgently rich. Picture biting into a soft, cake-like exterior, where the slight tang of cream cheese filling meets the sweetness of brown sugar and just a hint of cocoa. It’s a delightful combination that has become a staple in my kitchen.
These whoopie pies are perfect for sharing with friends during casual get-togethers or on quiet evenings when I need a pick-me-up after a long day. The best part? They’re surprisingly easy to whip up, making them a go-to for any occasion. So, let’s unlock the magic of soft, velvety red cookies paired with luscious cream cheese filling, and transform average moments into sweet memories with these irresistible treats. Ready to impress? Let’s get baking!
Why You'll Love This Red Velvet Whoopie Pies
- These Red Velvet Whoopie Pies are incredibly easy to make, allowing you to enjoy baking without the stress.
- The rich flavor of red velvet combined with the creamy filling creates a deliciously indulgent treat that's sure to satisfy any sweet tooth.
- Their vibrant color and beautiful presentation make them a showstopper for parties and gatherings, impressing your guests with minimal effort.
- Plus, they’re perfect for any occasion, whether you’re enjoying them at a cozy night in or sharing them with friends for a festive celebration.
Red Velvet Whoopie Pie Ingredients
For the Cookie Base
• All-purpose flour – essential for structure, giving these pies their cake-like texture.
• Unsweetened cocoa powder – adds a hint of chocolate flavor to complement the red velvet.
• Baking soda – helps the cookies rise for that perfect soft bite.
• Salt – enhances the sweetness and balances flavors.
• Unsalted butter – make sure it’s softened for easy mixing, contributing to the rich taste.
• Light brown sugar – adds moisture and a hint of caramel flavor, perfect for red velvet whoopie pies.
• Large egg – binds the ingredients together for a tender crumb.
• Buttermilk – introduces a tangy flavor while keeping the cookies moist.
• Vanilla extract – infuses warmth and sweetness to the overall taste.
• Gel red food coloring – gives these cookies their signature vibrant hue; adjust to your color preference.
For the Cream Cheese Filling
• Cream cheese – provides a rich and tangy filling that pairs wonderfully with the cookies.
• Unsalted butter – ensures a smooth and creamy texture in the filling.
• Confectioners’ sugar – adds sweetness without graininess, perfect for silky frosting.
• Vanilla extract – enhances the overall flavor profile of your filling.
These simple ingredients come together to create delicious Red Velvet Whoopie Pies that are sure to be a hit!
How to Make Red Velvet Whoopie Pies
-
Preheat your oven to 350°F (177°C) and line two baking sheets with parchment or silicone mats. This step ensures perfect baking and easy cleanup!
-
Whisk together the all-purpose flour, cocoa powder, baking soda, and salt in a mixing bowl. This creates a uniform dry mixture that will give your cookies the right texture.
-
Beat the unsalted butter until smooth, then add in the light brown sugar. Mix until fluffy; this will give your cookies a delightful sweetness and rich flavor.
-
Add the large egg into the mixture, then stir in the vanilla extract and buttermilk. This combination makes your batter moist and flavorful!
-
Gradually pour the dry ingredients into the wet mixture. Stir until it’s all smooth and combined, creating the perfect cookie batter.
-
Stir in the gel red food coloring until the batter reaches your desired deep red color. This is what will make your whoopie pies pop with vibrancy!
-
Scoop 1.5-tablespoon portions of the batter onto your prepared baking sheets, spacing them about 3 inches apart. This will allow enough room for them to expand while baking.
-
Bake for 10–12 minutes or until the centers are set. They should spring back lightly when touched, indicating they’re perfectly baked!
-
Cool the cookies completely on a wire rack before filling them with the creamy frosting. This step is crucial for achieving the best texture.
-
Beat the softened cream cheese and unsalted butter together until smooth in a mixing bowl. This will be the luxurious filling!
-
Add the confectioners’ sugar and vanilla extract, mixing until creamy. This creates a deliciously sweet and tangy frosting, perfect for the whoopie pies.
-
Spread a generous dollop of the cream cheese filling on one cookie and sandwich it with another. Press gently to create the perfect whoopie pie!
-
Dust with additional confectioners' sugar if desired for an added touch of sweetness and a beautiful finish.
Optional: A sprinkle of cocoa powder on top can add a delightful touch!
Exact quantities are listed in the recipe card below.
How to Store and Freeze Red Velvet Whoopie Pies
Room Temperature: Keep your Red Velvet Whoopie Pies in an airtight container at room temperature for up to 3 days. This ensures they stay soft and delicious!
Fridge: Storing them in the refrigerator can extend their freshness to about a week. Just make sure they are well-wrapped to prevent them from drying out.
Freezer: For long-term storage, freeze whoopie pies in a single layer, then transfer to a freezer-safe bag or container. They’ll last up to 3 months—perfect for a sweet surprise later!
Reheating: To enjoy frozen whoopie pies, simply thaw them at room temperature for a few hours. If you prefer them warm, microwave for about 10-15 seconds. Enjoy that lovely cream cheese filling!
Make Ahead Options
These Red Velvet Whoopie Pies are perfect for meal prep, allowing you to indulge in their deliciousness without stress! You can prepare the cookie base up to 24 hours in advance by baking and then cooling them completely before storing. Place the cooled cookies in an airtight container to keep them fresh. Additionally, you can make the cream cheese filling up to 3 days ahead; just keep it refrigerated in a sealed container. When you're ready to serve, simply spread the filling between the cookies and dust with confectioners' sugar. You'll enjoy the same delightful taste and texture with minimal effort—perfect for busy weeknights or impromptu gatherings!
What to Serve with Red Velvet Whoopie Pies?
Indulge in a delightful spread that complements the rich flavors of these vibrant treats.
-
Velvety Hot Cocoa: The creamy texture of hot cocoa pairs beautifully with the whoopie pies, enhancing their sweet, chocolaty essence.
-
Creamy Vanilla Ice Cream: A scoop of vanilla ice cream melts into the soft cookies, adding a refreshing chill that contrasts the pillowy warmth.
-
Chocolate Dipped Fruit: Consider strawberries or bananas dipped in chocolate; their fruity freshness balances the richness of the pies.
-
Nutty Coffee Blend: A cup of coffee with hints of hazelnut brings out the cocoa flavors in the whoopie pies, creating a cozy pairing you’ll adore.
-
Caramel Sauce Drizzle: Serve the whoopie pies with a side of warm caramel for dipping, adding an extra layer of decadence to every bite.
-
Fresh Berries Salad: Light and refreshing, a mix of raspberries and blueberries provides a beautiful flavor contrast to the sweet whoopie pies and a burst of color on the plate.
-
Sparkling Lemonade: The tartness of sparkling lemonade refreshes the palate, making each bite of the whoopie pies even more delightful as you indulge.
-
Chocolate Covered Pretzels: The crunchiness and saltiness of these pretzels offer a fun texture and flavor contrast to the soft, sweet whoopie pies.
Red Velvet Whoopie Pies Variations
Customize these delightful treats to your heart's content and discover new favorite combinations!
-
Gluten-Free: Substitute all-purpose flour with a 1:1 gluten-free baking mix to enjoy these whoopie pies without the gluten.
-
Dairy-Free: Use a dairy-free butter alternative and substitute buttermilk with almond milk mixed with a splash of lemon juice for a creamy filling.
-
Chocolate Lovers: For an extra chocolate kick, add ¼ cup of mini chocolate chips to the batter, making each bite even more decadent.
-
Nutty Addition: Fold in ½ cup of chopped walnuts or pecans for a delightful crunch that complements the soft cookie and creamy filling.
-
Spicy Twist: Add a pinch of cayenne pepper or a dash of cinnamon to the batter for a subtle warm spice blend that enhances the flavors beautifully.
-
Fruit Infusion: Swirl in some raspberry or strawberry puree into the cream cheese filling for a fruity surprise that brightens each whoopie pie.
-
Bright & Zesty: Mix zest from 1 lemon or orange into the cream cheese filling for a refreshing, tangy flavor that dances on your taste buds.
-
Seasonal Variants: For a festive touch, incorporate some pumpkin puree and pumpkin spice into the batter during autumn, turning these pies into a seasonal favorite!
Chef's Helpful Tips
- When making Red Velvet Whoopie Pies, be sure to soften your butter at room temperature to create a light and fluffy texture in your cookies.
- Avoid over-mixing the batter after adding the dry ingredients, as this can lead to dense cookies instead of the desired soft bite.
- For the perfect red hue, use gel food coloring, as it's more concentrated and will achieve a vibrant color without adding too much liquid.
- Always cool your cookies completely on a wire rack before filling them, as this helps maintain the integrity of the whoopie pies and prevents the filling from becoming runny.
Red Velvet Whoopie Pies Recipe FAQs
How do I choose ripe ingredients for my Red Velvet Whoopie Pies?
Absolutely! For the best results, make sure your buttermilk and egg are at room temperature so they mix well without causing the batter to curdle. As for the butter, let it soften for about 30 minutes at room temperature; you'll know it's ready when you can press your finger in easily but it still holds its shape.
How should I store my Red Velvet Whoopie Pies?
To keep your whoopie pies fresh, store them in an airtight container at room temperature for up to 3 days. For extended freshness, place them in the refrigerator, where they'll stay delicious for about a week. Just ensure that they’re wrapped up well to keep them moist and tasty!
Can I freeze Red Velvet Whoopie Pies?
Yes, you can! To freeze, first cool the whoopie pies completely. Then, place them in a single layer on a baking sheet and freeze until solid—this helps prevent them from sticking together. Next, transfer them to a freezer-safe bag or container. They will keep well for up to 3 months! When you're ready to indulge, simply thaw at room temperature or warm them in the microwave for a quick treat.
What should I do if my whoopie pie filling is too runny?
Very! If your cream cheese filling turned out runny, it might be due to overmixing or using cold ingredients. To fix this, refrigerate the filling for about 30 minutes to help it solidify a bit. If it still feels too thin, you can gradually add more sifted confectioners’ sugar until it reaches your desired consistency.
Are there any allergies to consider with Red Velvet Whoopie Pies?
Definitely! Keep in mind that these whoopie pies contain gluten, dairy, and eggs, which can be allergens for some. If you're baking for someone with dietary restrictions, consider substitutes: almond or coconut flour for a gluten-free option, soy or coconut cream for a dairy-free filling, and flaxseed or chia seeds with water as an egg replacement. Always check the specific brands for allergy information!
How do I keep my whoopie pies from spreading too much while baking?
The more the merrier! If you want to prevent your Red Velvet Whoopie Pies from spreading more than desired, chill the dough in the refrigerator for about 30 minutes before baking. This helps the butter firm up, leading to thicker, cake-like cookies. Additionally, make sure your oven is properly preheated to the right temperature for even baking.
Red Velvet Whoopie Pies
Ingredients
Equipment
Method
- Preheat your oven to 350°F (177°C) and line two baking sheets with parchment or silicone mats.
- Whisk together the all-purpose flour, cocoa powder, baking soda, and salt in a mixing bowl.
- Beat the unsalted butter until smooth, then add in the light brown sugar. Mix until fluffy.
- Add the large egg into the mixture, then stir in the vanilla extract and buttermilk.
- Gradually pour the dry ingredients into the wet mixture. Stir until smooth.
- Stir in the gel red food coloring until you reach your desired color.
- Scoop 1.5-tablespoon portions of the batter onto your prepared baking sheets.
- Bake for 10–12 minutes or until the centers are set.
- Cool the cookies completely on a wire rack before filling.
- Beat the softened cream cheese and unsalted butter together until smooth.
- Add the confectioners’ sugar and vanilla extract, mixing until creamy.
- Spread a generous dollop of the cream cheese filling on one cookie and sandwich it with another.
- Dust with additional confectioners' sugar if desired.


Leave a Reply