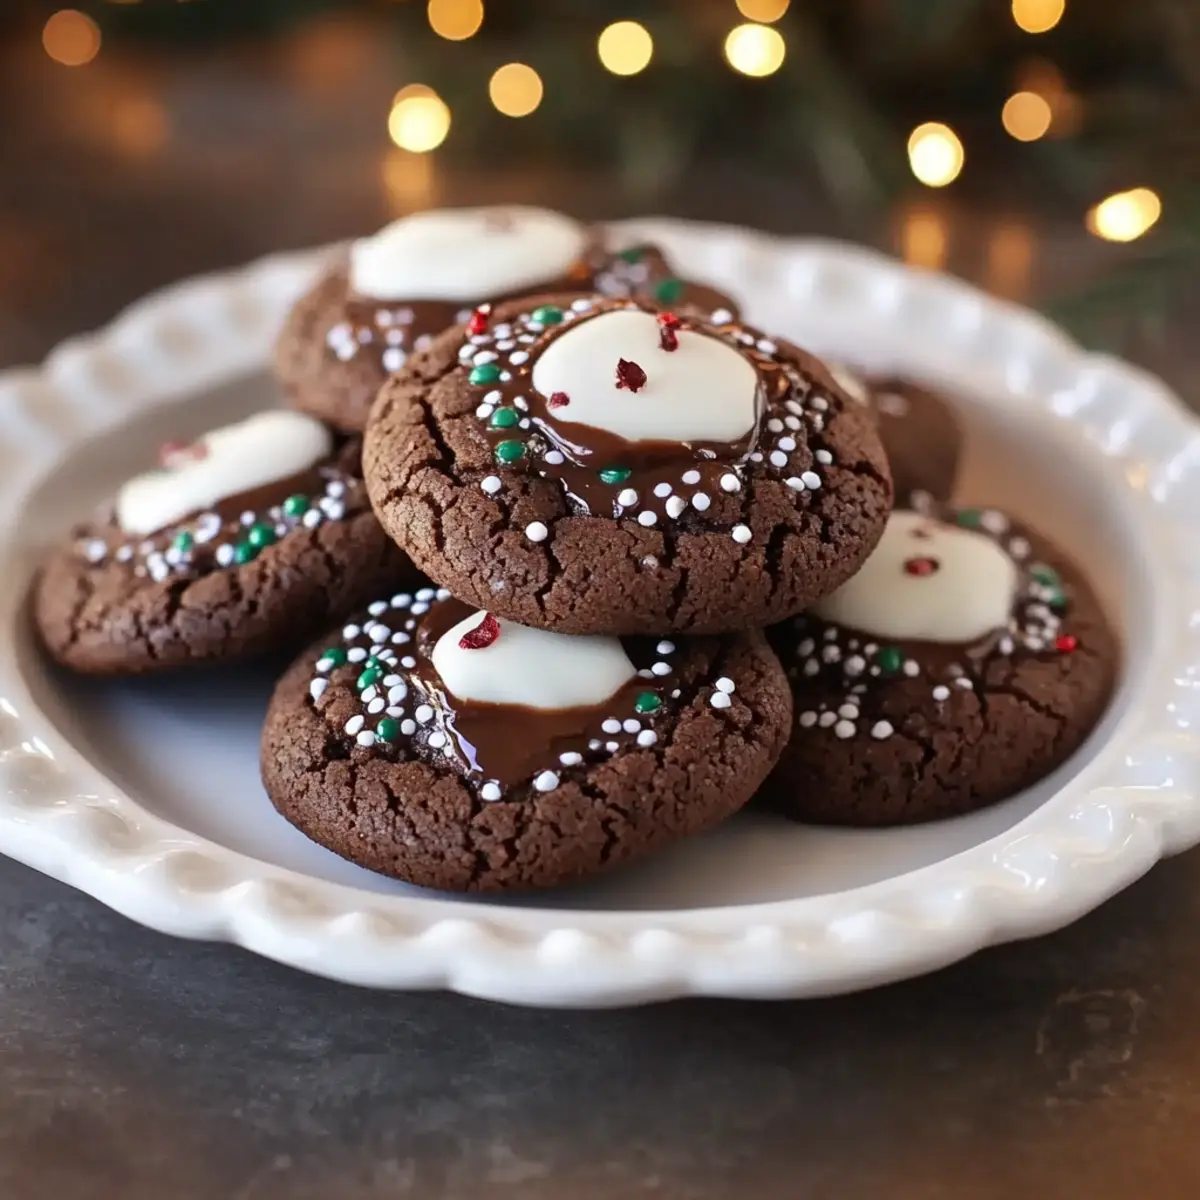
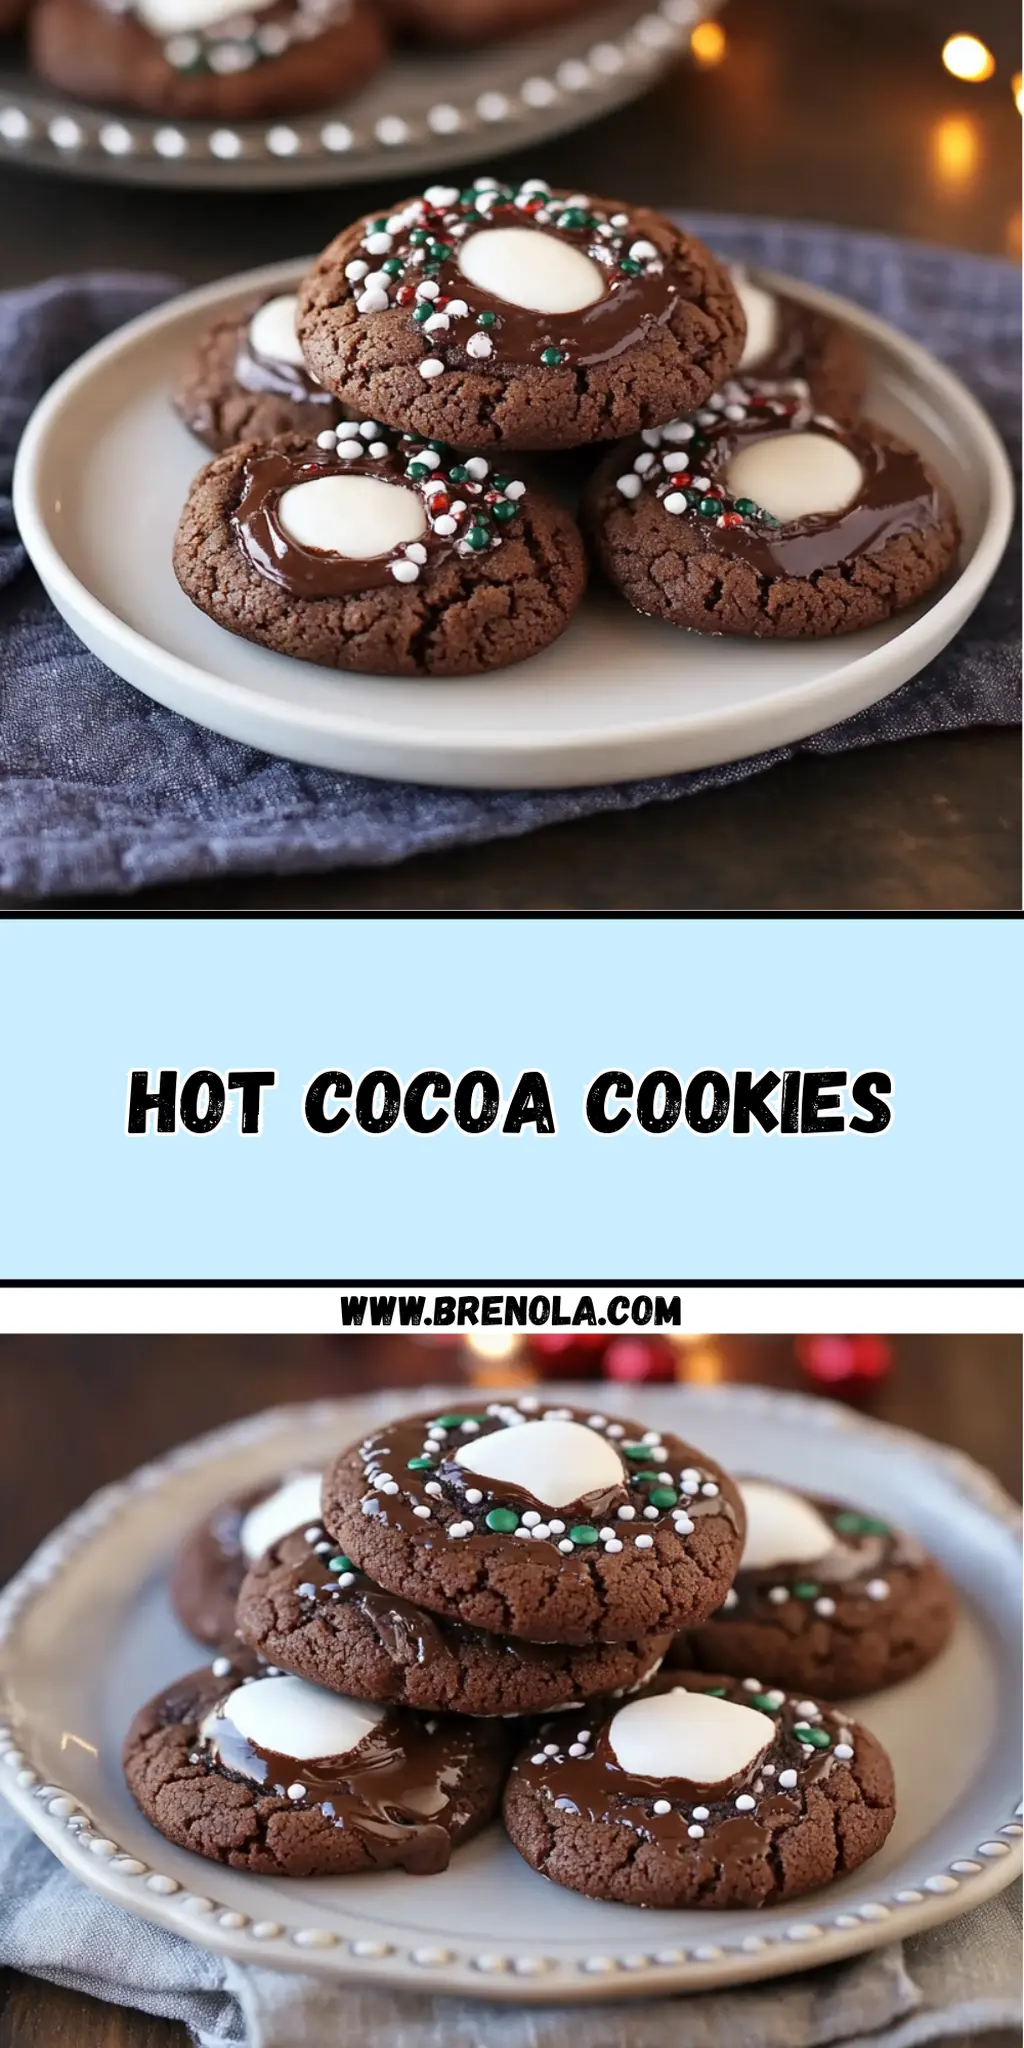
As the first hints of winter’s chill begin to creep in, I find myself yearning for the comfort of cozy treats that warm both the heart and the home. That’s when these Hot Cocoa Cookies come to mind—a whimsical and delicious fusion of two beloved seasonal staples! The thought of biting into a soft, chocolatey cookie, only to discover gooey marshmallows nestled in the center, is enough to make anyone’s spirit soar.
I first whipped up this recipe during an impromptu baking session with friends; we were craving something sweet but were tired of the usual fare. With a handful of pantry staples and a dash of creativity, these cookies came to life and quickly became a favorite for cozy nights in. Beyond their mouthwatering flavor, they’re perfect for gatherings or as a delightful surprise in lunchboxes any time of year.
So, let’s embrace the sweeter side of life and dive into how to make these irresistible Hot Cocoa Cookies—your new go-to treat for every heartfelt occasion!
Why You'll Love This Hot Cocoa Cookies
- These Hot Cocoa Cookies are incredibly easy to make, allowing you to whip up a batch without any fuss.
- With their rich chocolate flavor and gooey marshmallow center, they are sure to satisfy your sweet cravings and impress your taste buds.
- They are versatile enough to be enjoyed during holiday gatherings, cozy movie nights, or even as a fun treat for lunchboxes.
- The delightful visual appeal of these cookies, with their charming icing and colorful sprinkles, makes them a hit for both kids and adults alike.<br />
Hot Cocoa Cookies Ingredients
• Get ready to bake sweet memories!
For the Cookies
- Unsalted butter – this adds richness to your cookies and helps achieve that soft texture.
- Semi-sweet chocolate – choose high-quality chocolate for a deep, decadent flavor.
- All-purpose flour – the foundation that gives structure to your cookies.
- Unsweetened cocoa powder – intensifies the chocolatey taste, making the Hot Cocoa Cookies even more delightful.
- Baking powder – helps your cookies rise and become nice and fluffy.
- Salt – a pinch enhances the overall flavor of the cookies.
- Brown sugar – provides a moist, chewy texture and a hint of caramel flavor.
- Large eggs – crucial for binding the ingredients together and adding richness.
- Vanilla extract – brings warmth and depth to the flavor profile.
For the Marshmallows
- Large marshmallows – these are what create that irresistible gooey center in the cookies.
For the Icing
- Powdered sugar – the base for your icing's sweetness and a smooth texture.
- Unsalted butter (melted) – adds creaminess to your icing for a luscious finish.
- Unsweetened cocoa powder – contributes to the chocolatey flavor of the icing.
- Hot water – helps achieve the desired consistency for drizzling.
- Vanilla extract – a splash for that aromatic touch that ties the icing together.
For the Sprinkles
- Assorted sprinkles – add a festive touch and a pop of color to your cookies!
How to Make Hot Cocoa Cookies
-
Melt the butter and semi-sweet chocolate together in a medium saucepan over low heat, stirring frequently until smooth. Once melted, let the mixture cool slightly before using it in the next steps.
-
Mix flour, unsweetened cocoa powder, baking powder, and salt in a separate bowl. Whisk them together until well combined to ensure a uniform texture in each cookie.
-
Beat the brown sugar, eggs, and vanilla extract in a mixing bowl using a stand mixer or hand mixer until the mixture becomes light and fluffy, which should take about 2-3 minutes. Then, add in the cooled chocolate mixture, mixing until fully combined.
-
Gradually add the dry ingredients to the wet mixture, mixing until just combined. Be careful not to overmix, as this can affect the cookie texture.
-
Chill the dough in the refrigerator for at least 1 hour, or until it's firm enough to handle. This helps the cookies maintain their shape while baking!
-
Preheat your oven to 325°F (160°C) and line two baking sheets with parchment paper to prevent sticking and make cleanup a breeze.
-
Scoop tablespoon-sized balls of dough and roll them into smooth balls. Place them on the prepared baking sheets and slightly flatten each ball before baking.
-
Bake the cookies in the preheated oven for 12 minutes. They should be soft but set on the edges when they're done.
-
Prepare the marshmallows by cutting them in half while your cookies are baking. It's a fun task that won't take much time at all!
-
Press a half-marshmallow into the center of each cookie right after you take them out of the oven. Return the cookies to the oven and bake for an additional 2-3 minutes, until the marshmallows are soft and slightly puffy.
-
Cool the cookies on a wire rack. Allowing them to cool will help the marshmallows set a little more, making them easier to handle.
-
Whisk the icing ingredients together until smooth. Combine the powdered sugar, melted butter, cocoa powder, hot water, and vanilla extract in a bowl until creamy.
-
Spoon the icing over the marshmallow tops of the cooled cookies and use a spatula to spread it slightly for a whimsical look.
-
Sprinkle assorted sprinkles over the icing immediately, before it sets, to add some color and fun!
-
Rest the cookies for 30 minutes to allow the icing to firm up before serving, giving your sweet creations time to shine.
Optional: For an extra touch, drizzle additional melted chocolate over the top.
Exact quantities are listed in the recipe card below.
Hot Cocoa Cookies Variations
Feel free to tweak these delightful cookies and make them your own with a few simple twists!
-
Gluten-Free: Substitute all-purpose flour with a 1:1 gluten-free blend for equally scrumptious cookies.
-
Dairy-Free: Use coconut oil or dairy-free butter and vegan chocolate for a creamy, cruelty-free treat. You’ll still enjoy that same rich flavor!
-
Nutty Addition: Fold in ½ cup of chopped walnuts or pecans to add a delightful crunch and earthy flavor to your cookies. They’ll add an unexpected, satisfying texture.
-
Minty Twist: Incorporate 1 teaspoon of peppermint extract into the dough for a refreshing mint-chocolate combo, perfect for the holidays. This adds a lovely festive flair!
-
Chili Kick: For those who love a touch of heat, add ¼ teaspoon of cayenne pepper to the dry ingredients. The subtle spice pairs wonderfully with chocolate, creating a unique flavor experience.
-
Oreo Cookie Crush: Mix in crushed Oreo cookies into the dough for a fun twist! Their chocolatey goodness will blend harmoniously with your Hot Cocoa Cookies.
-
Caramel Center: Instead of marshmallows, press a caramel square into the center of each cookie for a gooey surprise. It’s a decadent twist that will leave everyone wanting more.
-
Cocoa Variations: Experiment with flavored cocoa powders, like dark chocolate or white chocolate, to switch up the flavor profile and create new favorites. Each bite will be a delightful surprise!
How to Store and Freeze Hot Cocoa Cookies
Room Temperature: Store cookies in an airtight container at room temperature for up to 3 days. Enjoy them at their freshest while keeping the delicious chocolatey flavor intact!
Fridge: If you want to extend the shelf life, you can refrigerate them for up to 1 week. Just make sure they're wrapped well to prevent them from drying out.
Freezer: To freeze Hot Cocoa Cookies, place them in a single layer in a freezer-safe container or bag for up to 3 months. Separate layers with parchment paper to avoid sticking.
Reheating: For the best taste, reheat cookies in a microwave for about 10-15 seconds or in an oven at 350°F (175°C) until warm. This will revive the gooey marshmallow center!
What to Serve with Hot Cocoa Cookies?
As you indulge in these delightful treats, consider rounding out your meal with a few comforting accompaniments.
-
Rich Hot Chocolate: This classic pairing mirrors the cookie's flavor, creating a warm and cozy experience perfect for chilly evenings.
-
Vanilla Ice Cream: The creamy texture of vanilla ice cream contrasts wonderfully with the warm, gooey cookies, turning every bite into a heavenly treat.
-
Fresh Berries: Bright, tart berries like raspberries or strawberries provide a refreshing burst of flavor, balancing the richness of the chocolate.
-
Peppermint Tea: A soothing cup of peppermint tea complements the sweetness of the cookies while adding a refreshing touch—perfect for a cozy afternoon break.
-
Chocolate Milkshake: For a fun, indulgent pairing, a thick chocolate milkshake is sure to excite dessert lovers and satisfy sweet cravings.
-
Caramel Sauce: Drizzling warm caramel over the cookies elevates them to a whole new level with a delightful sweetness and sticky texture that’s simply irresistible.
-
Nutty Trail Mix: A handful of nutty trail mix on the side provides a crunchy texture that contrasts nicely with the soft cookies and adds a boost of energy.
-
Cinnamon Sugar Popcorn: This sweet and crunchy snack is a fun addition to a dessert spread, enhancing the cozy vibe of your gathering.
Enjoy creating a dessert experience that warms the heart and nurtures the spirit!
Make Ahead Options
These Hot Cocoa Cookies are perfect for meal prep, allowing you to enjoy delightful treats with less hassle! You can prepare the cookie dough up to 24 hours in advance by mixing all the ingredients and then chilling the dough. Simply form the dough into balls, wrap them tightly in plastic wrap, and store them in the refrigerator. When you're ready to bake, take them out and proceed with pressing the marshmallows and baking them as directed. This method ensures your cookies stay just as delicious and chewy; just be sure to add an extra minute or two to the baking time if the dough is particularly cold! Enjoy quick, homemade treats without the wait!
Chef's Helpful Tips
- When making Hot Cocoa Cookies, ensure your butter and chocolate are only melted until smooth, as overcooking can affect the texture.
- A common mistake is overmixing the cookie dough; mix until just combined for a tender cookie.
- Chill the dough as instructed to prevent spreading during baking, which helps maintain that perfect shape.
- Keep an eye on your cookies in the oven, as baking times can vary; they should be soft around the edges and firm in the center.
Hot Cocoa Cookies Recipe FAQs
How do I select the right chocolate for my Hot Cocoa Cookies?
Absolutely! When choosing semi-sweet chocolate, look for bars with a high cocoa content (70% or higher) for a richer flavor. You can also opt for chocolate chips if you prefer convenience; just ensure they are of good quality for that decadent taste!
What’s the best way to store Hot Cocoa Cookies?
For best results, store your cookies in an airtight container at room temperature for up to 3 days. If you want to enjoy them longer, refrigerating them can extend their freshness to about 1 week. Just remember to wrap them well to prevent any drying out!
Can I freeze Hot Cocoa Cookies, and how?
Yes, indeed! To freeze, place your cookies in a single layer in a freezer-safe container or resealable bag. Layer with parchment paper to avoid sticking and store for up to 3 months. When you're ready to enjoy them, thaw at room temperature or pop them in the microwave for about 10-15 seconds to regain that gooey goodness.
What should I do if my cookie dough is too sticky?
If the dough is too sticky to handle after chilling, don't worry! Simply sprinkle a little flour on your hands when shaping the dough into balls. Alternatively, if you find the dough is still unmanageable, chilling it for an additional 30 minutes can often help firm it up.
Can I make these cookies gluten-free?
Very much so! You can substitute all-purpose flour with gluten-free flour blends, ensuring they contain a binding agent like xanthan gum. This swap maintains texture while accommodating gluten-sensitive friends or family. Just keep in mind that the final taste may vary slightly!
Are Hot Cocoa Cookies safe for pets?
No, it’s best to keep these cookies away from pets! The chocolate and sugar used in the recipe can be harmful to dogs and other animals. Always opt for pet-specific treats to keep your furry friends safe and healthy.
Hot Cocoa Cookies
Ingredients
Equipment
Method
- Melt the butter and semi-sweet chocolate together in a medium saucepan over low heat, stirring frequently until smooth. Once melted, let the mixture cool slightly before using it in the next steps.
- Mix flour, unsweetened cocoa powder, baking powder, and salt in a separate bowl. Whisk them together until well combined to ensure a uniform texture in each cookie.
- Beat the brown sugar, eggs, and vanilla extract in a mixing bowl using a stand mixer or hand mixer until the mixture becomes light and fluffy, which should take about 2-3 minutes. Then, add in the cooled chocolate mixture, mixing until fully combined.
- Gradually add the dry ingredients to the wet mixture, mixing until just combined. Be careful not to overmix, as this can affect the cookie texture.
- Chill the dough in the refrigerator for at least 1 hour, or until it's firm enough to handle. This helps the cookies maintain their shape while baking!
- Preheat your oven to 325°F (160°C) and line two baking sheets with parchment paper to prevent sticking and make cleanup a breeze.
- Scoop tablespoon-sized balls of dough and roll them into smooth balls. Place them on the prepared baking sheets and slightly flatten each ball before baking.
- Bake the cookies in the preheated oven for 12 minutes. They should be soft but set on the edges when they're done.
- Prepare the marshmallows by cutting them in half while your cookies are baking. It's a fun task that won't take much time at all!
- Press a half-marshmallow into the center of each cookie right after you take them out of the oven. Return the cookies to the oven and bake for an additional 2-3 minutes, until the marshmallows are soft and slightly puffy.
- Cool the cookies on a wire rack. Allowing them to cool will help the marshmallows set a little more, making them easier to handle.
- Whisk the icing ingredients together until smooth. Combine the powdered sugar, melted butter, cocoa powder, hot water, and vanilla extract in a bowl until creamy.
- Spoon the icing over the marshmallow tops of the cooled cookies and use a spatula to spread it slightly for a whimsical look.
- Sprinkle assorted sprinkles over the icing immediately, before it sets, to add some color and fun!
- Rest the cookies for 30 minutes to allow the icing to firm up before serving, giving your sweet creations time to shine.


Leave a Reply