There's something undeniably comforting about a classic Oreo milkshake, isn't there? The moment I crack open a pack of those iconic cookies, the smell transports me back to carefree summer days, indulgent treats, and playful moments spent with friends. It always surprises me how a simple milkshake can evoke such joy, effortlessly merging nostalgia with pure delight.
I created this recipe during one of those hot afternoons when nothing but sweet, creamy bliss would do. With just a handful of ingredients and a quick blend, you can whip up this delectable milkshake in under ten minutes—perfect for those evenings when you need a pick-me-up or want to impress guests without breaking a sweat.
Plus, the combination of vanilla ice cream and crushed Oreos creates a luxurious texture that you'll find hard to resist. So, let’s grab our blenders and treat ourselves to a delicious Oreo milkshake that’s bound to become a new favorite!
Why You'll Love This Oreo Milkshake
- This Oreo milkshake is incredibly quick and easy to make, allowing you to enjoy a delicious treat in just ten minutes.
- The rich and creamy flavor, enhanced by the iconic taste of Oreos, is simply irresistible and perfect for satisfying your sweet tooth.
- Its versatility means you can customize it with various toppings or even blend in other flavors to suit your mood.
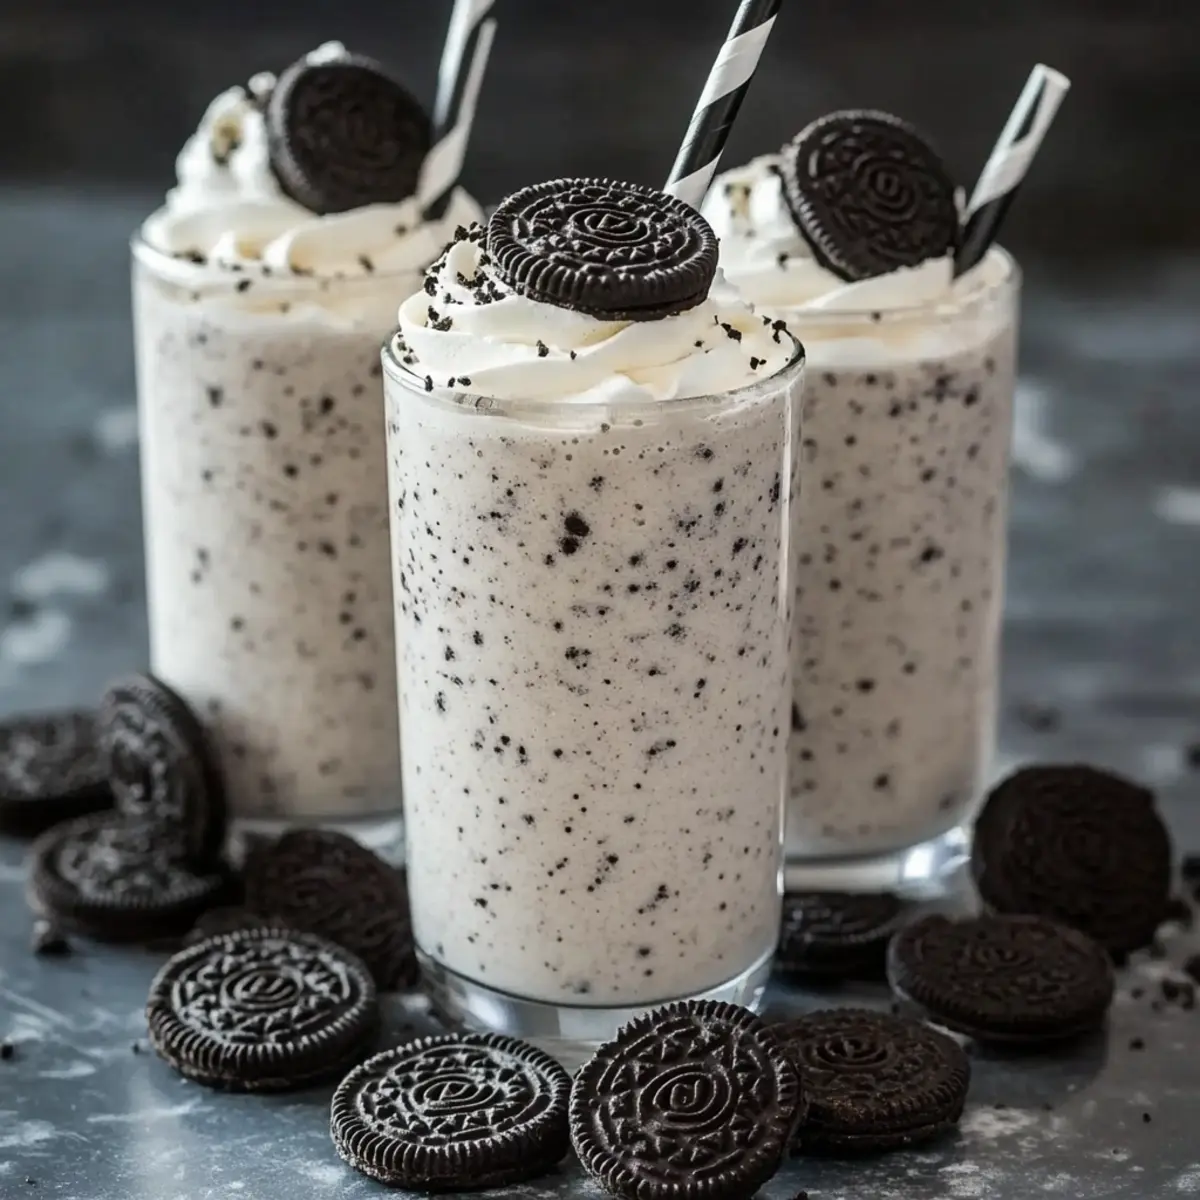
- Plus, its visual appeal, topped with whipped cream and drizzled with chocolate syrup, makes it a delightful centerpiece for any gathering.
Oreo Milkshake Ingredients
Unlock the magic of flavors with these simple essentials.
For the Base
• Oreo cookies – The classic choice; it’s where the rich flavor begins!
• Vanilla ice cream – Adds a creamy texture and balances the cookie crunch.
• Whole milk – Creates a smooth consistency; consider using almond milk for a twist!
• Vanilla extract – A touch adds depth, amplifying the overall flavor profile.
For the Topping
• Whipped cream – Elevates the milkshake with a fluffy, sweet finish.
• Chocolate syrup – Drizzle it on top for that extra indulgent touch!
• Extra Oreo cookies – Use them as garnish for a fun, decorative element.
Now you’re all set to blend your way to creamy, dreamy Oreo milkshake perfection!
How to Make Oreo Milkshake
-
Crush the Oreo cookies by placing them in a sealed bag and gently using a rolling pin. Aim for fine crumbs, as this will ensure a smooth texture throughout the milkshake.
-
Blend by adding the whole milk to your blender first, then adding the vanilla ice cream and the crushed Oreo cookies. Blend on high until everything is combined and smooth, about 30 to 45 seconds.
-
Adjust the thickness by adding more milk if desired, and blend again. If you like a thicker milkshake, keep it as is, or for a lighter texture, a splash more milk works wonders.
-
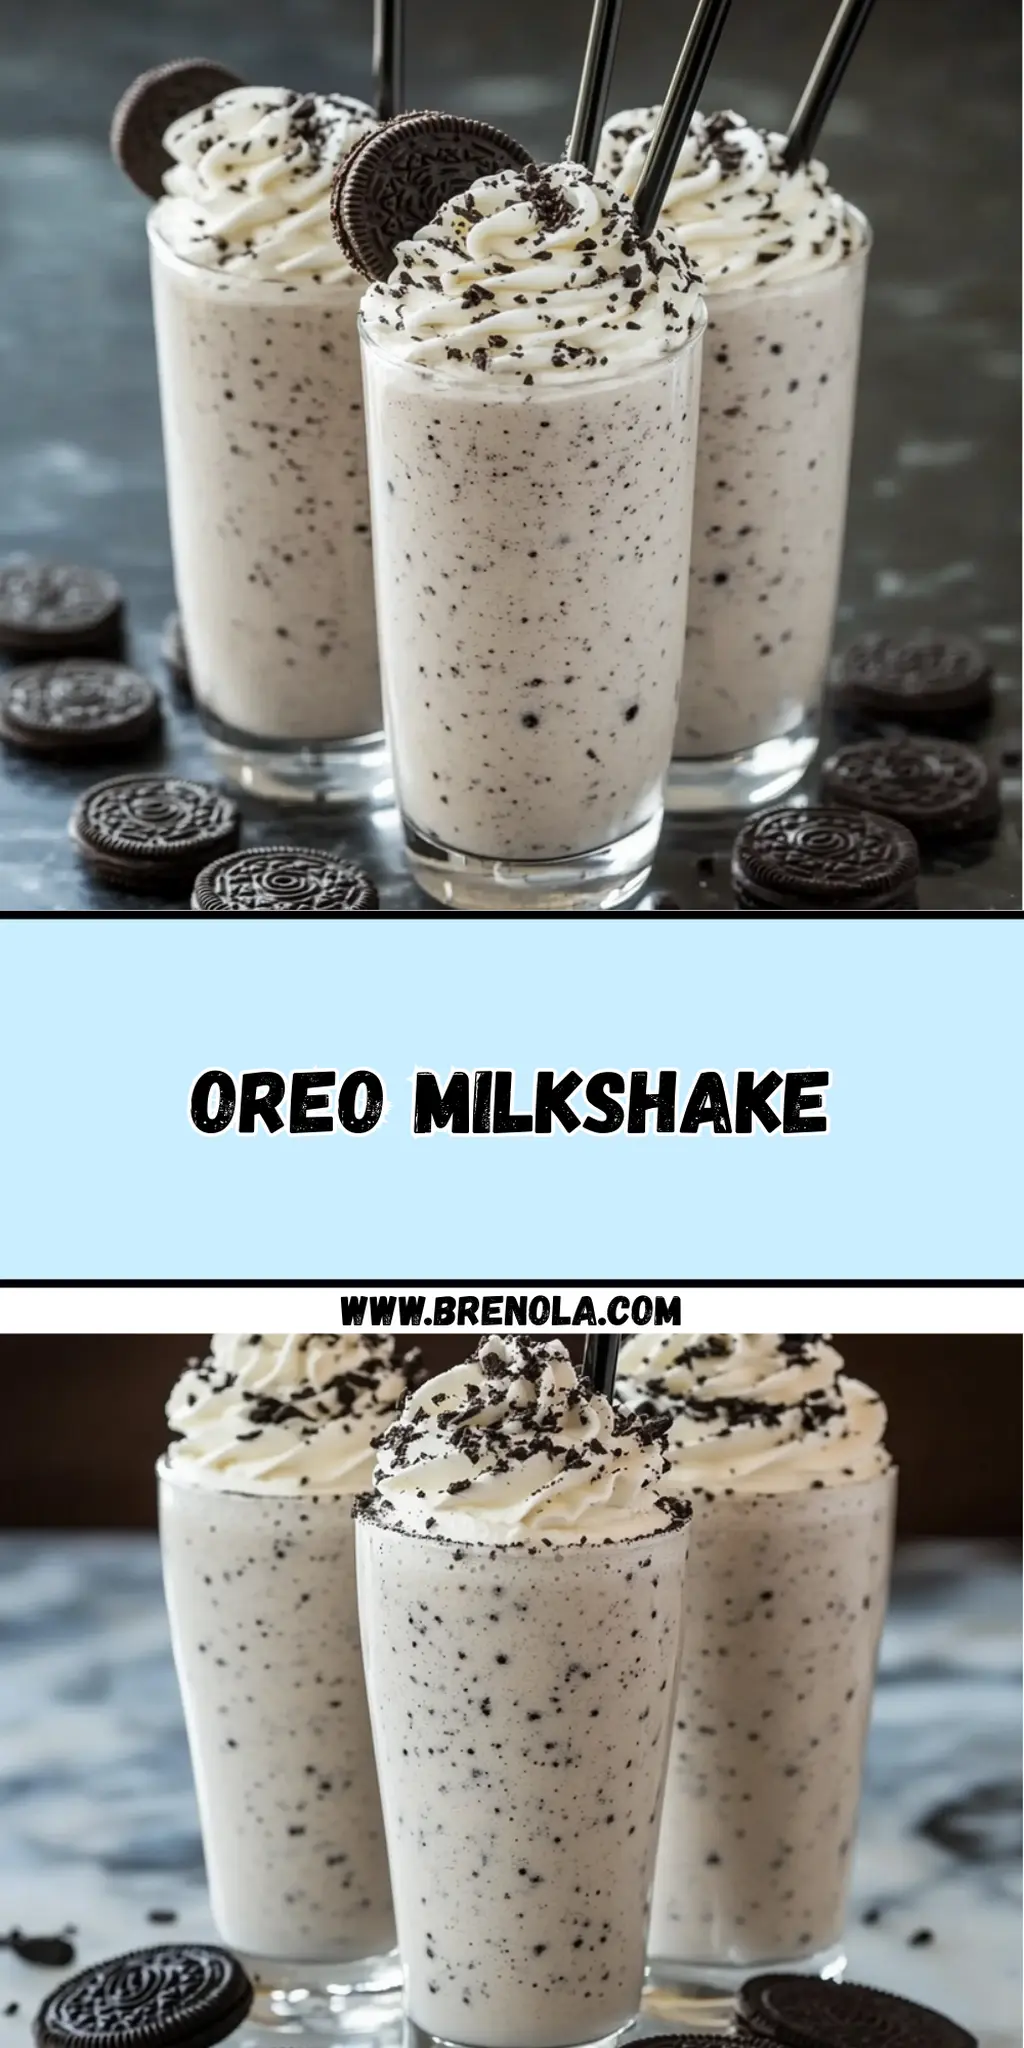
Serve by pouring the milkshake into tall glasses. Top generously with whipped cream and drizzle with chocolate syrup to elevate the sweetness. Make sure to add an extra Oreo on top for that eye-catching touch!
Optional: Consider adding a sprinkle of crushed Oreos on top for extra crunch and flavor.
Exact quantities are listed in the recipe card below.
How to Store and Freeze Oreo Milkshake
Fridge: Store any leftover Oreo milkshake in an airtight container for up to 24 hours. Give it a good shake or stir before enjoying it again to refresh the texture.
Freezer: If you want to freeze your Oreo milkshake, transfer it to a freezer-safe container. It can be stored for up to 1 month. Thaw it in the fridge overnight before blending it again for a creamy texture.
Reheating: While you can't really "reheat" a milkshake, if it’s too thick after freezing, add a splash of milk and blend until smooth. Enjoying your frozen Oreo milkshake has never been easier!
Make Ahead Options
These Oreo milkshakes are perfect for meal prep enthusiasts! You can crush the Oreo cookies and store them in an airtight container for up to 3 days, keeping the delicious crunch intact. Additionally, you can measuring out the vanilla ice cream and whole milk in separate containers, ready to blend whenever the craving hits—just remember to refrigerate the milk. When you're ready to serve, simply combine all the ingredients in your blender and blend to your desired consistency. This way, you’ll save time during busy weeknights or impromptu gatherings while still enjoying a scrumptious and refreshing Oreo milkshake that’s just as delicious as if freshly made.
What to Serve with Oreo Milkshake?
Indulging in a creamy Oreo milkshake is such a delightful experience that a perfect pairing can elevate it even more.
-
Soft Pretzels: These salty snacks add a delightful contrast to the sweetness of the milkshake, making each bite a savory-sweet adventure.
-
Chocolate Chip Cookies: A classic combo that brings another layer of chocolatey goodness, perfect for those who can never have too much cookie goodness.
-
Fruit Salad: A fresh and vibrant mix of seasonal fruits provides a refreshing bite, balancing the richness of the milkshake beautifully.
-
Chocolate Cake: For the true dessert lover, a slice of moist chocolate cake melds seamlessly with the rich flavors of the milkshake, creating a dreamy dessert platter.
-
Vanilla Ice Cream: Dive into double the creaminess by serving a scoop of vanilla ice cream on the side, amplifying the milkshake's luscious texture.
-
Lemonade: A zesty glass of lemonade can cleanse the palate, offering a refreshing contrast to the dessert’s sweetness, creating a symphony of flavors.
-
Cheesecake Bites: Mini cheesecakes offer a rich and creamy texture that complements the dessert perfectly, adding a touch of elegance to your gathering.
Each of these pairings is sure to bring out the creamy, dreamy allure of your Oreo milkshake while creating a memorable dessert experience!
Oreo Milkshake Variations
Let your creativity shine by twisting this classic recipe to suit your tastes or dietary needs!
-
Dairy-Free: Substitute whole milk with almond or oat milk and use non-dairy ice cream for a delicious vegan option. It’s amazing how rich and creamy it can still be!
-
Minty: Add a few drops of peppermint extract for a refreshing mint Oreo milkshake. This change can transport your flavors into a cool, desserted spa retreat.
-
Peanut Butter: Blend in a tablespoon of peanut butter for a nutty flavor boost. The combination of chocolate and peanut butter will make your taste buds dance with joy!
-
Extra Thick: For an ultra-thick shake, increase the amount of ice cream to 3 cups and reduce the milk. It's like indulging in your very own ice cream sundae in a glass!
-
Coffee Infusion: Add a shot of espresso or a tablespoon of instant coffee for a delightful mocha twist. The addition of caffeine will energize your afternoon treat!
-
Chocolate Fudge: Mix in a couple of tablespoons of chocolate fudge sauce before blending for an extra chocolaty experience. It’s a treat that truly celebrates the flavors of chocolate and Oreos.
-
Banana Bliss: Toss in half a ripe banana before blending. This adds a fruity twist that balances nicely with the rich cookies, creating a delightful contrast.
-
Spicy Kick: Add a pinch of cayenne pepper or a splash of cinnamon for a surprising heat element. It’s a bold choice that can awaken your senses and elevate the experience!
Feel free to mix and match these variations to create your perfect Oreo milkshake!
Chef's Helpful Tips
- When making your Oreo Milkshake, ensure you crush the cookies into fine crumbs to achieve a smooth consistency in your drink.
- To prevent over-blending, pulse the mixture just until combined, as this preserves the milkshake's creamy texture.
- If you want to customize the thickness, add milk a little at a time until it reaches your preferred consistency.
- Finally, serve immediately after preparation to enjoy the milkshake at its freshest and most delightful temperature.
Oreo Milkshake Recipe FAQs
How do I choose the best Oreo cookies?
Absolutely! For the best flavor, select a pack of Oreo cookies without any visible damage or signs of staleness, such as dark spots or an off smell. Fresh cookies will give your milkshake that unmistakable crunch and rich flavor!
How should I store leftover Oreo milkshake?
You can store any leftover Oreo milkshake in an airtight container in the fridge for up to 24 hours. To refresh the texture, give it a gentle shake or stir before serving again. However, I recommend enjoying it fresh for the best experience!
Can I freeze Oreo milkshake?
Yes! Transfer your Oreo milkshake to a freezer-safe container, and it can be stored for up to 1 month. When you're ready to enjoy it, thaw it in the refrigerator overnight. If it’s thick after freezing, just blend in a splash of milk until it returns to that creamy goodness.
What if my Oreo milkshake is too thick?
Very! If your milkshake is too thick for your liking, simply add a little bit of milk—start with a tablespoon—and blend again until you reach your desired consistency. Don’t hesitate to taste as you adjust to find that perfect texture!
Are there any dietary considerations for this Oreo milkshake?
Certainly! If you're accommodating allergies, feel free to swap out whole milk for a non-dairy alternative like almond or oat milk. Additionally, if serving to pets, remember that chocolate is toxic to dogs, so be sure they don't get a hold of those cookies!
Can I use other types of cookies in this milkshake?
Definitely! The more the merrier! While Oreos create that classic taste, feel free to experiment with other cookies like chocolate chip or peanut butter. Just adjust the cookie-to-ice cream ratio to achieve your perfect flavor profile!
Oreo Milkshake
Ingredients
Equipment
Method
- Crush the Oreo cookies by placing them in a sealed bag and gently using a rolling pin until you have fine crumbs.
- Blend by adding the whole milk to your blender first, then add the vanilla ice cream and the crushed Oreo cookies. Blend on high until combined and smooth, about 30 to 45 seconds.
- Adjust the thickness by adding more milk if desired, and blend again to reach your preferred consistency.
- Serve by pouring the milkshake into tall glasses. Top with whipped cream and drizzle with chocolate syrup, adding an extra Oreo on top for garnish.


Leave a Reply