As Valentine's Day approaches, the quest for the perfect treat to celebrate love often takes center stage. Picture this: the joyous aroma of freshly baked cake mingling with the sweet notes of cream cheese frosting fills your kitchen, creating an atmosphere of warmth and affection. These Red Velvet Cake Minis are not just desserts; they’re little bites of joy designed to steal hearts!
I stumbled upon this delightful recipe when searching for a fun and easy way to impress my loved ones. With their vibrant red hue and luxurious cream filling, they might look fancy, but the truth is, they come together in just 30 minutes. Perfect for sharing, these charming mini cakes are a sweet solution to breaking free from mundane sweets and fast food. So whether you’re planning a romantic dinner or a cozy gathering with friends, get ready to wow everyone with these irresistible, crowd-pleasing delights!
Why You'll Love This Red Velvet Cake Minis Valentine’s Day
- These Red Velvet Cake Minis are incredibly easy to make, requiring just 30 minutes from start to finish.
- Their rich and decadent flavor will delight your taste buds and leave you craving more.
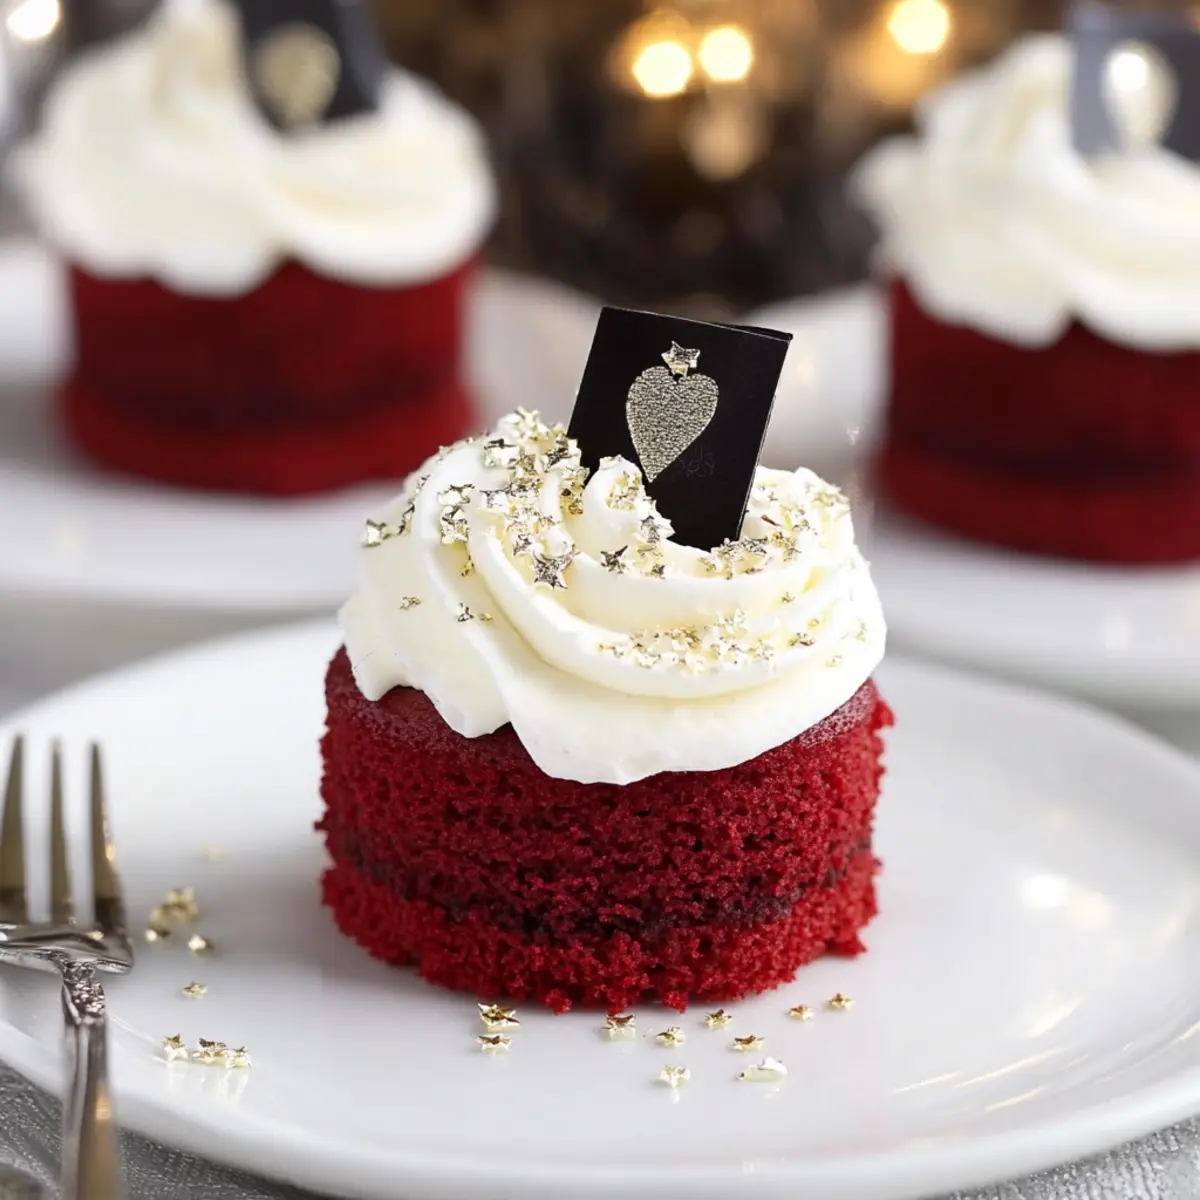
- With their beautiful presentation, these minis are visually stunning and perfect for impressing guests at any occasion.
- Versatile enough for both romantic dinners and casual get-togethers, they are truly a crowd-pleasing treat.
Red Velvet Cake Minis Ingredients
For the Cake
• 4 eggs – essential for structure and moisture in the mini cakes.
• ¾ cup superfine sugar – creates a perfectly sweet and delicate crumb.
• 1 tablespoon vegetable oil – adds moisture to keep your cakes soft.
• 2 tablespoons buttermilk – enhances the flavor and tenderness of the cake.
• 1 teaspoon vinegar – helps react with the baking soda for a nice rise.
• 1 teaspoon vanilla extract – infuses a delightful warmth into the cake.
• 1 ounce red food coloring – gives those classic red velvet cakes their signature hue!
• ¾ cup sifted cake flour – ensures a light and airy texture perfect for the minis.
• ¼ cup cocoa powder – adds a rich chocolate flavor that balances the sweetness.
• 1 teaspoon baking powder – helps your cake rise to perfection.
• ½ teaspoon salt – brings out the flavors and balances the sweetness.
For the Frosting
• 2 cups heavy whipping cream – the base for a luxuriously fluffy frosting.
• 4 oz softened cream cheese – provides that rich, creamy tang we crave in red velvet desserts.
• ⅓ cup granulated sugar – sweetens the frosting without overwhelming the taste.
For the Decor
• 6 gold chocolate buttons or metallic dragees – adds a touch of elegance for a special occasion.
• 6 squares of quality chocolate (e.g. Godiva, Vosges, Lindt) – enhances the treats with a luxurious finish.
Your Red Velvet Cake Minis Valentine’s Day will be a memorable treat, sure to make hearts soar!

How to Make Red Velvet Cake Minis
-
Preheat Oven: Begin by preheating your oven to 350°F (175°C). Greasing a jelly roll pan with shortening, then lining it with parchment paper and greasing the paper again ensures the cakes slide out effortlessly.
-
Beat Eggs: In a stand mixer, whisk 4 eggs at high speed for about 5 minutes. This step is vital for getting your cake airy, so make sure to slowly add ¾ cup superfine sugar and 1 tablespoon vegetable oil while beating well.
-
Mix Wet Ingredients: Gently blend in 2 tablespoons buttermilk, 1 teaspoon vinegar, 1 teaspoon vanilla extract, and 1 ounce red food coloring. Switch your mixer to the paddle attachment to make it easier to fold in the dry ingredients.
-
Combine Dry Ingredients: Sift together ¾ cup sifted cake flour, ¼ cup cocoa powder, 1 teaspoon baking powder, and ½ teaspoon salt. Gradually add this flour mixture to your wet ingredients, mixing for 2 minutes until everything is smooth and well-combined.
-
Bake the Cake: Pour the luscious batter into the prepared pan, spreading it evenly. Bake for 12–15 minutes or until the cake springs back when gently touched.
-
Cool and Cut: Allow the cake to cool in the pan for about 10 minutes. Then, using a 3-inch cutter, cut out 12 beautiful rounds to form your mini cakes.
-
Whip Frosting: In a clean bowl, whip 4 oz softened cream cheese until fluffy. Slowly add 2 cups heavy whipping cream, incorporating ⅓ cup granulated sugar. Continue to beat until stiff peaks form, creating a luxurious, creamy frosting.
-
Assemble the Minis: To begin assembly, place one cake round either in a ring mold or on a flat surface. Spoon ¼ cup of the creamy filling on top of the cake round, and then carefully place another cake round on top.
-
Chill: Repeat this layering process for all cake rounds. Chill the assembled cakes in the refrigerator for 2 hours, allowing the flavors to meld beautifully.
-
Decorate: After chilling, pipe a decorative swirl of any leftover filling on top of each mini cake. Add a gold button and a square of quality chocolate for an elegant finish that’ll impress your guests.
Optional: Dust with cocoa powder for an extra touch!
Exact quantities are listed in the recipe card below.
How to Store and Freeze Red Velvet Cake Minis
Room Temperature: Enjoy your Red Velvet Cake Minis fresh for up to 1 day at room temperature, but be sure to keep them in an airtight container to preserve their deliciousness.
Fridge: Store your mini cakes in the fridge for up to 3 days. Place them in a sealed container to keep the frosting intact and maintain their flavors.
Freezer: For longer storage, freeze the unassembled cake rounds, wrapped tightly in plastic wrap for up to 3 months. Thaw overnight in the fridge when ready to enjoy.
Reheating: If desired, lightly warm mini cakes in the microwave for 10-15 seconds before serving to enhance their rich flavors and creaminess.
Make Ahead Options
These Red Velvet Cake Minis are perfect for those busy days when you need to plan ahead! You can prepare the cake rounds and filling up to 24 hours in advance. Simply bake the cake and let it cool completely. Once cooled, cut out your 12 rounds and store them in an airtight container in the refrigerator. For the filling, whip the cream cheese and heavy whipping cream together, adding sugar, and refrigerate it in a separate container. When you're ready to serve, assemble the cakes by layering the rounds with the filling, chilling them again for 2 hours before finishing with your decorative touches. This way, the flavors stay vibrant and delicious, making your prep time a breeze!
Red Velvet Cake Minis Variations
Feel free to experiment and make these delightful Red Velvet Cake Minis your own with these fun twists!
-
Gluten-Free: Substitute cake flour with a gluten-free blend, ensuring a similar texture without gluten.
-
Dairy-Free: Use almond or coconut milk yogurt instead of buttermilk and coconut cream for the frosting, maintaining that creamy taste.
-
Nutty Flavor: Add ½ cup ground almonds or finely chopped walnuts into the batter for a delightful crunch and rich flavor.
-
Spicy Kick: Mix in ½ teaspoon cinnamon and ¼ teaspoon cayenne pepper for a surprising heat that beautifully contrasts the sweetness.
-
Matcha Infusion: Swirl in 1-2 teaspoons of matcha powder into your frosting for a unique flavor and gorgeous green accent on top of your minis.
-
Fruit Twist: Fold in diced strawberries or raspberries into the batter for a burst of fruity flavor and extra moisture.
-
Chocolate Lovers: Replace half the cocoa powder with melted dark chocolate for a deeper, more intense chocolate experience.
-
Caramel Drizzle: Drizzle some caramel sauce over the top after decorating for an added layer of sweetness and a touch of elegance.
No matter what you choose, these variations will make your Red Velvet Cake Minis uniquely yours and just as scrumptious!
What to Serve with Red Velvet Cake Minis?
Indulging in delightful mini cakes pairs beautifully with a variety of flavors and textures.
-
Fresh Berries: Their tartness complements the sweetness of the cakes, adding a bright note to each bite.
-
Vanilla Ice Cream: A scoop of this classic favorite enhances the richness of the red velvet cake and offers a creamy contrast.
-
Chocolate Ganache: Drizzling this luxurious sauce over the minis will amplify their decadent allure, making every mouthful a chocolate lover's dream.
-
Sparkling Wine: A glass of bubbly elevates any occasion, its effervescence cleansing the palate and celebrating the sweetness of love.
-
Cream Cheese Frosting Dippers: Keep a small bowl of extra frosting nearby for those who want to indulge even more; because why not?
-
Homemade Whipped Cream: Dollops of this light topping lend an airy counterpoint to the cake's density, enhancing the overall enjoyment.
-
Red Velvet Hot Chocolate: For a cozy touch, serve this indulgent drink alongside your mini cakes for an irresistible pairing that’s simply divine.
Each suggestion harmonizes with the delightful flavors of your Red Velvet Cake Minis Valentine’s Day, creating a memorable dessert experience everyone will cherish!
Chef's Helpful Tips
- When making Red Velvet Cake Minis, ensure your eggs are at room temperature for better incorporation and a fluffier texture.
- Always sift your dry ingredients to avoid lumps and ensure a light, airy cake.
- For a rich flavor, use high-quality cocoa powder, as it significantly enhances the chocolate taste in the cake.
- Keep an eye on your baking time; every oven is different, so check for doneness a minute or two early to avoid overbaking.
Red Velvet Cake Minis Valentine’s Day Recipe FAQs
How do I select the right eggs for my Red Velvet Cake Minis?
Absolutely! When choosing eggs, look for fresh ones that are clean and free of cracks. They should ideally be at room temperature for better mixing and aeration, resulting in fluffier cakes.
What is the best way to store Red Velvet Cake Minis?
Very! You can keep your Red Velvet Cake Minis in a sealed container in the fridge for up to 3 days. Ensure they are well covered to keep the frosting intact and maintain that perfect creamy texture. If left at room temperature, they can be enjoyed fresh for about 1 day.
Can I freeze Red Velvet Cake Minis?
Yes, indeed! For an easy way to prepare for special occasions, freeze unassembled cake rounds. Wrap them tightly in plastic wrap and store in an airtight container for up to 3 months. When you’re ready to enjoy, simply thaw them overnight in the fridge, then assemble with frosting and chill before serving.
What should I do if my cake is too dense?
Don't worry! A dense cake might result from overmixing the batter or not incorporating enough air while whisking the eggs. Always remember to whisk your eggs well for the time specified (about 5 minutes) to create a light and airy batter. Also, ensure you’re not compacting the dry ingredients when combining them with the wet mixture.
Are there any dietary considerations for this recipe?
Certainly! If you or someone you’re serving has dietary restrictions, you can use dairy-free substitutes like almond milk or coconut cream for the buttermilk. To make it gluten-free, consider using a high-quality gluten-free cake flour. Just be sure to check all other ingredients for any allergens, particularly with the chocolate you select for decorating.
Can I make these ahead of time?
Absolutely! These Red Velvet Cake Minis can be made a day in advance. After assembling, chill them in the fridge for up to 2 hours so the flavors meld beautifully. This makes them perfect for a stress-free Valentine’s Day celebration!
Red Velvet Cake Minis Valentine’s Day
Ingredients
Equipment
Method
- Preheat your oven to 350°F (175°C) and grease a jelly roll pan with shortening, lining with parchment paper and greasing it again.
- In a stand mixer, whisk 4 eggs at high speed for about 5 minutes, gradually adding ¾ cup superfine sugar and 1 tablespoon vegetable oil.
- Blend in 2 tablespoons buttermilk, 1 teaspoon vinegar, 1 teaspoon vanilla extract, and 1 ounce red food coloring.
- Sift together ¾ cup sifted cake flour, ¼ cup cocoa powder, 1 teaspoon baking powder, and ½ teaspoon salt, then gradually add to wet ingredients.
- Pour the batter into the prepared pan and bake for 12-15 minutes until the cake springs back when touched.
- Cool the cake in the pan for about 10 minutes, then cut out 12 rounds using a 3-inch cutter.
- Whip 4 oz softened cream cheese until fluffy, then add 2 cups heavy whipping cream and ⅓ cup granulated sugar until stiff peaks form.
- Assemble by placing one cake round in a ring mold or on a flat surface, spooning ¼ cup of filling on top, and topping with another cake round.
- Repeat for all rounds and chill for 2 hours.
- Pipe any leftover filling on top and add a gold button and a square of chocolate for decoration.


Leave a Reply