There’s a certain kind of joy that fills the kitchen when the vibrant red of these Red Velvet Cookies emerges from the oven. They might look fancy, but I promise, whipping them up is a breeze—perfect for those who crave a little indulgence without the hassle. A simple mix of buttery goodness and rich cocoa creates a cookie that's soft, chewy, and utterly irresistible.
One afternoon, while rummaging through my pantry, I stumbled upon a jar of red gel food coloring and thought, “Why not?” What followed was a delightful transformation that not only brightened my day but also delighted friends and family alike. Picture this: the first bite reveals a subtly chocolaty flavor complemented by the warm embrace of vanilla, all wrapped in a sugary red coating that adds just the right crunch.
If you’re feeling stuck in the rut of boring snacks or fast food, these cookies will bring a burst of color and flavor back into your life. Join me in creating these stunning treats that are as simple to make as they are to fall in love with!
Why You'll Love This Red Velvet Cookies
- These Red Velvet Cookies are incredibly easy to prepare, making them perfect for both novice bakers and seasoned pros.
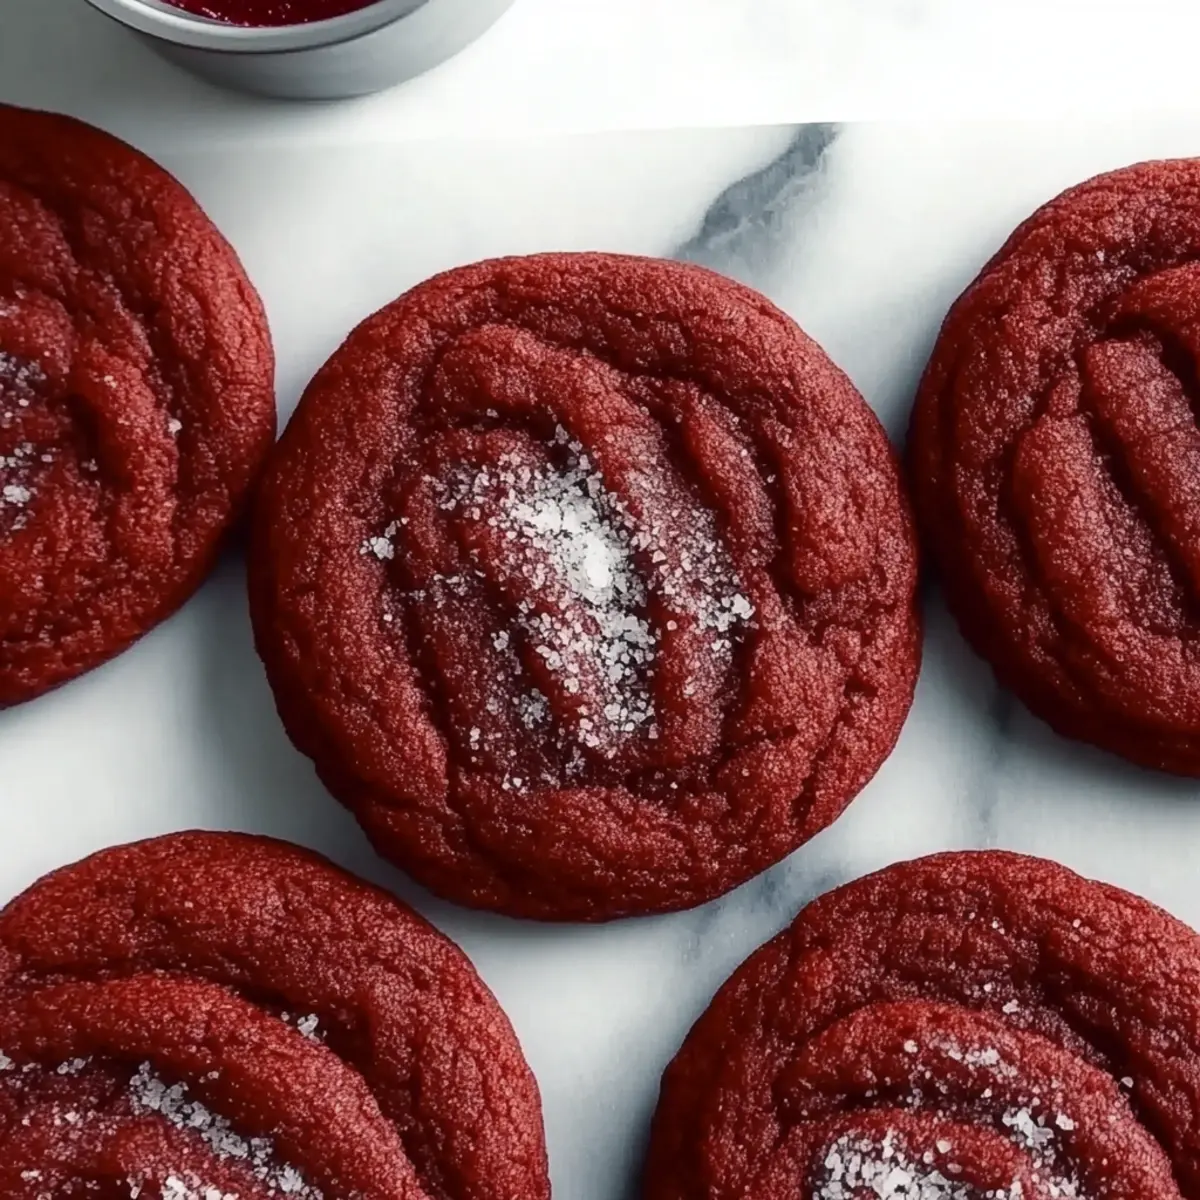
- The vibrant color and delightful texture create an impressive visual appeal that will wow your guests at any gathering.
- Each bite offers a luscious blend of chocolate and vanilla flavors that make them truly addictive.
- Plus, they are versatile enough to serve as a festive treat or a simple indulgence for any day of the week.
Red Velvet Cookies Ingredients
Dive into the delightful world of Red Velvet Cookies with these simple ingredients that create a burst of flavor!
For the Cookie Dough
- Unsalted butter – ½ cup (113 g); melted butter adds richness and flavor to your cookies.
- Light brown sugar – ½ cup + 1 tablespoon (110 g); this gives the cookies a nice caramel undertone.
- Granulated sugar – ¼ cup (50 g); balances the sweetness and adds texture.
- Large egg – 1, room temperature; helps bind the ingredients for a chewy texture.
- Vanilla extract – 1 ½ tsp; enhances the overall flavor of the cookies.
- Red gel food coloring – 1 ½ tsp; a key element for achieving that beautiful red hue.
- All-purpose flour – 1 ¼ cups (160 g); the foundation of every great cookie.
- Cocoa powder – 2 tablespoon (Dutch-process or Hershey’s Special Dark); adds a subtle chocolate flavor to complement the red.
- Baking soda – ½ tsp; a leavening agent that helps the cookies rise.
- Baking powder – ½ tsp; ensures a light and fluffy texture.
- Salt – ½ tsp; enhances the sweetness and balances flavors.
For the Coating
- Red sanding sugar – ½ cup; adds a delightful crunch and festive touch.
- Granulated or coarse sugar – ¼ cup (50 g); provides an additional sweetness and sparkling finish.
- Dollop of red gel food coloring – for an extra pop of color before baking.
Gather these ingredients and let's start baking delicious Red Velvet Cookies that will brighten your day!

How to Make Red Velvet Cookies
-
Melt butter in a small saucepan or microwave. Carefully transfer it to a shallow dish and freeze for 5–8 minutes, until it's cold but not solid. This step ensures your cookies have that delightful texture!
-
Mix the chilled butter with both sugars, the egg, vanilla extract, and red gel food coloring in a medium bowl. Stir until all the ingredients are well combined, creating a luscious, inviting batter.
-
Whisk together the flour, cocoa powder, baking soda, baking powder, and salt in another bowl. This dry mixture is what gives your cookies structure and flavor, so make sure it's blended well!
-
Fold the dry ingredients into the wet mixture gently using a spatula. Be careful not to overmix; you want your cookies to be soft and chewy, not tough.
-
Rest the dough for a moment while you preheat your oven to 350°F (175°C). Line two baking sheets with parchment paper to ensure easy cleanup and a perfect bake.
-
Scoop the dough into 2-ounce balls and roll them in red sanding sugar or regular sugar. Place them 2–3 inches apart on the baking sheets—this allows them to spread beautifully as they bake.
-
Bake one sheet at a time in the center of the oven for 9–10 minutes. You’ll know they’re done when the edges are set, and the centers look slightly puffy—trust me; the aroma will fill your kitchen!
-
Cool the cookies on the baking sheet for 5–10 minutes. They will flatten slightly as they cool, making them perfectly chewy and delicious.
Optional: Drizzle with a little melted white chocolate for an extra sweet touch!
Exact quantities are listed in the recipe card below.
What to Serve with Red Velvet Cookies?
Dive into a delightful celebration of flavors that will perfectly complement your sweet treats!
- Vanilla Ice Cream: This classic pairing adds creamy richness, creating a dreamy contrast to the cookie's soft, chewy texture.
- Fresh Berries: A mix of strawberries and raspberries brings a burst of tartness, enhancing the cookie's sweetness with refreshing flavors.
- Chocolate Milk: Indulge in nostalgia with a glass of this creamy drink that harmonizes perfectly with the subtle cocoa notes in the cookies.
- Cream Cheese Frosting: A dollop of this tangy frosting on top can transform your cookies into a luscious dessert, adding a bit of decadence.
- Coffee: The bitter notes of a freshly brewed cup balance the cookie's sweetness, making for a delightful afternoon treat.
- Caramel Sauce: Drizzling a warm caramel glaze over your cookies creates a delightful contrast with a buttery sweetness that’s hard to resist.
- Mint Tea: A warm cup of mint tea enhances each bite, offering a refreshing herbal kick against the chocolatey flavors of the cookies.
Whether you’re hosting a gathering or simply treating yourself, these pairings will elevate your Red Velvet Cookies into a full whimsical experience!
Make Ahead Options
These Red Velvet Cookies are perfect for meal prep enthusiasts! You can prepare the cookie dough up to 24 hours in advance by mixing all the wet and dry ingredients and storing the dough in an airtight container in the refrigerator. This not only saves time on busy days but also allows the flavors to meld beautifully. When you’re ready to bake, simply scoop and roll the chilled dough in red sanding sugar, then bake as directed. If you want to get even more ahead, you can also freeze the pre-formed cookie balls for up to 3 months; just add a couple of extra minutes to the baking time when you're ready to finish them off. Trust me, they’ll be just as delicious!
Red Velvet Cookies Variations
Feel free to add your personal touch to these delightful cookies—after all, baking is all about creativity!
-
Dairy-Free: Substitute unsalted butter with coconut oil or vegan butter for a delicious dairy-free treat. The richness will still shine through beautifully.
-
Gluten-Free: Use a 1:1 gluten-free flour blend instead of all-purpose flour. Your cookies will be just as soft and chewy with this alternative!
-
Nutty Delight: Incorporate ½ cup of chopped walnuts or pecans into the dough for added texture and a delightful crunch. The nuts offer a lovely contrast to the soft cookie!
-
White Chocolate Drizzle: Melt some white chocolate and drizzle it over the cooled cookies for a sweet, decadent finish. The creaminess complements the red velvet flavor perfectly.
-
Spice it Up: Add 1 teaspoon of cinnamon or a pinch of cayenne pepper to the dry ingredients for a warm spice twist. This adds warmth and depth to each bite!
-
Chocolate Chunk: Mix in ½ cup of semi-sweet chocolate chunks for an extra chocolatey flavor. The melty chocolate will elevate the indulgence factor!
-
Minty Fresh: Infuse the dough with ½ teaspoon of peppermint extract for a refreshing twist. Perfect for holiday gatherings or whenever you want a minty treat!
-
Cocoa Powder Boost: Increase the cocoa powder to ¼ cup for a deeper chocolate flavor. This adjustment will make every bite rich and deliciously chocolatey!
How to Store and Freeze Red Velvet Cookies
Room Temperature: Store your Red Velvet Cookies in an airtight container for up to 3 days to maintain their softness and flavor.
Fridge: If you prefer a longer shelf life, keep the cookies in the fridge for up to 1 week, ensuring they're in a sealed container to prevent them from drying out.
Freezer: For extra storage, freeze the cookies in a single layer on a baking sheet until solid, then transfer them to a freezer bag for up to 3 months.
Reheating: To enjoy warm cookies, simply pop them in the microwave for 10-15 seconds or reheat in a preheated oven at 350°F (175°C) for about 5 minutes.
Chef's Helpful Tips
- When making Red Velvet Cookies, be sure to chill the melted butter before mixing it with the sugars to maintain the right texture.
- Avoid overmixing the cookie dough once you combine the wet and dry ingredients; this helps keep the cookies soft and chewy.
- If you want a more intense red color, you can add an extra dollop of red gel food coloring to the dough.
- Bake your cookies in the center of the oven at 350°F, and watch closely as they bake to prevent overcooking, as they should be slightly puffy in the center when done.
- Note that they will continue to firm up as they cool on the baking sheet for optimal texture.
Red Velvet Cookies Recipe FAQs
What type of food coloring should I use for Red Velvet Cookies?
For the best results, I recommend using red gel food coloring. Gel colors are more concentrated than liquid ones, ensuring a vibrant hue without altering the cookie's texture. You could also try a natural alternative like beet juice, but it may result in a different shade and flavor.
How should I store my Red Velvet Cookies?
Store your cookies in an airtight container at room temperature for up to 3 days to keep them soft. If you're looking to extend their shelf life, you can place them in the fridge for up to a week. Just be sure they're sealed well to prevent them from drying out!
Can I freeze Red Velvet Cookies? How?
Absolutely! To freeze, start by laying the cookies in a single layer on a baking sheet and placing them in the freezer until solid. Then, transfer them into a freezer-safe zip-top bag or container for up to 3 months. This way, you can enjoy a sweet treat any time you want!
What should I do if my cookies spread too much during baking?
If your cookies spread too much, it might mean the butter was too warm or the dough wasn't chilled long enough before baking. Make sure it’s properly frozen for the recommended time. Next time, you might also try adding a tad more flour to the dough, which helps maintain shape as they bake.
Are these cookies safe for people with nut allergies?
Yes! The recipe for Red Velvet Cookies doesn't call for any nuts, making them a safer treat for those with nut allergies. However, always check the labels of your ingredients, especially for pre-packaged items, to ensure they are processed in nut-free facilities.
Can I replace the egg in my cookie recipe?
Certainly! For a vegan or egg-free option, you can substitute one large egg with ¼ cup of unsweetened applesauce or mashed banana. These substitutions will help bind the ingredients together, although they may slightly alter the flavor and texture of your final cookies.
Red Velvet Cookies
Ingredients
Equipment
Method
- Melt butter in a small saucepan or microwave. Carefully transfer it to a shallow dish and freeze for 5–8 minutes, until it's cold but not solid.
- Mix the chilled butter with both sugars, the egg, vanilla extract, and red gel food coloring in a medium bowl.
- Whisk together the flour, cocoa powder, baking soda, baking powder, and salt in another bowl.
- Fold the dry ingredients into the wet mixture gently using a spatula.
- Rest the dough while you preheat your oven to 350°F (175°C) and line two baking sheets with parchment paper.
- Scoop the dough into 2-ounce balls and roll them in red sanding sugar or regular sugar.
- Bake one sheet at a time for 9–10 minutes.
- Cool the cookies on the baking sheet for 5–10 minutes.


Leave a Reply