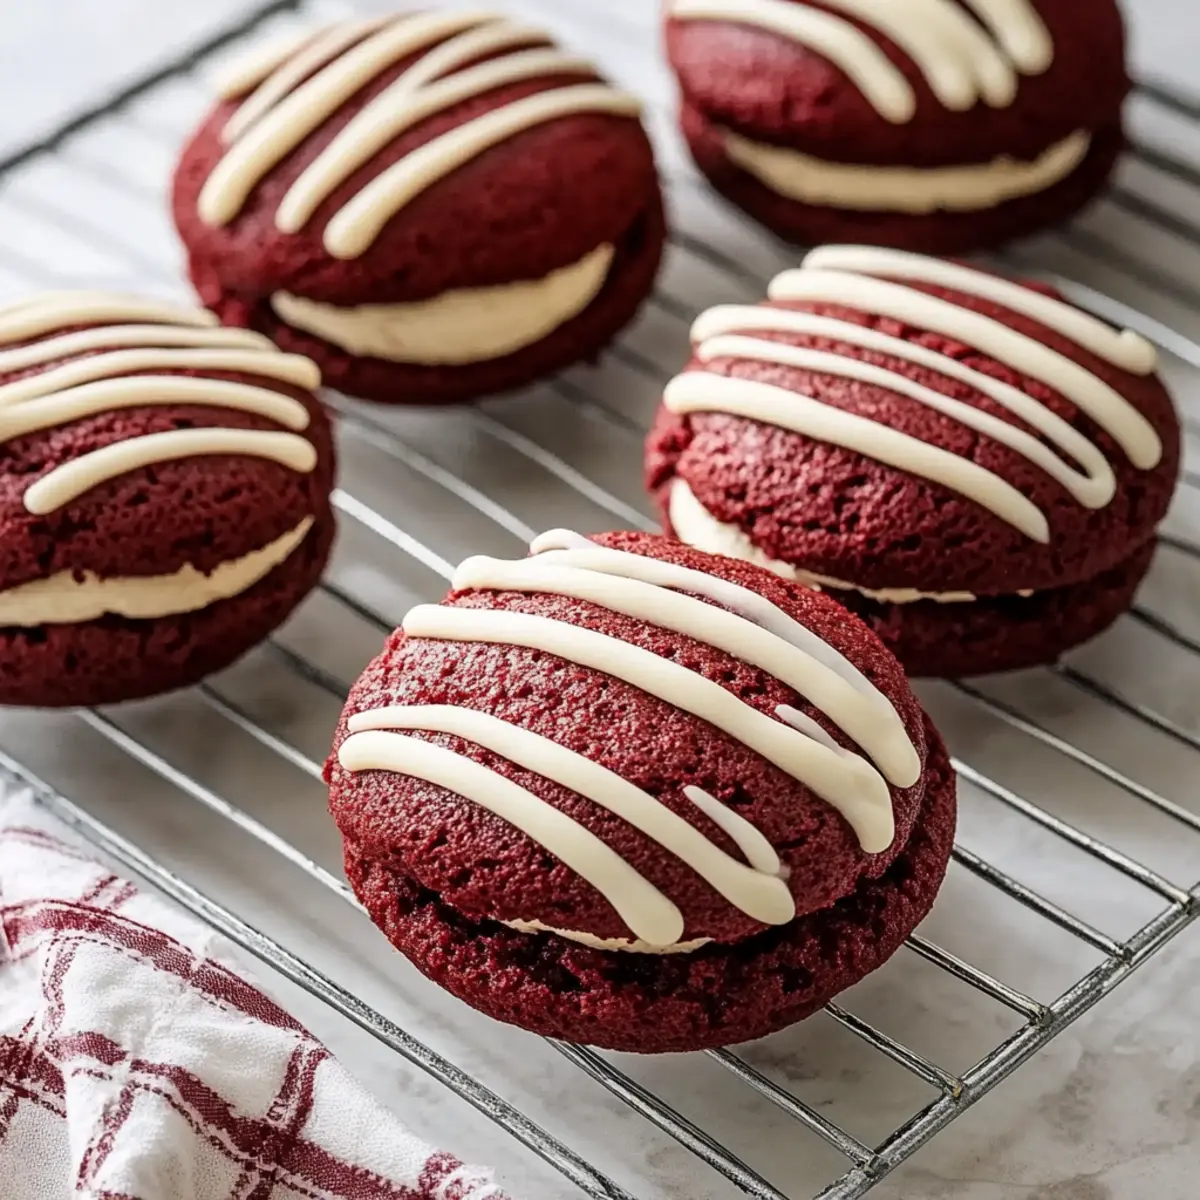
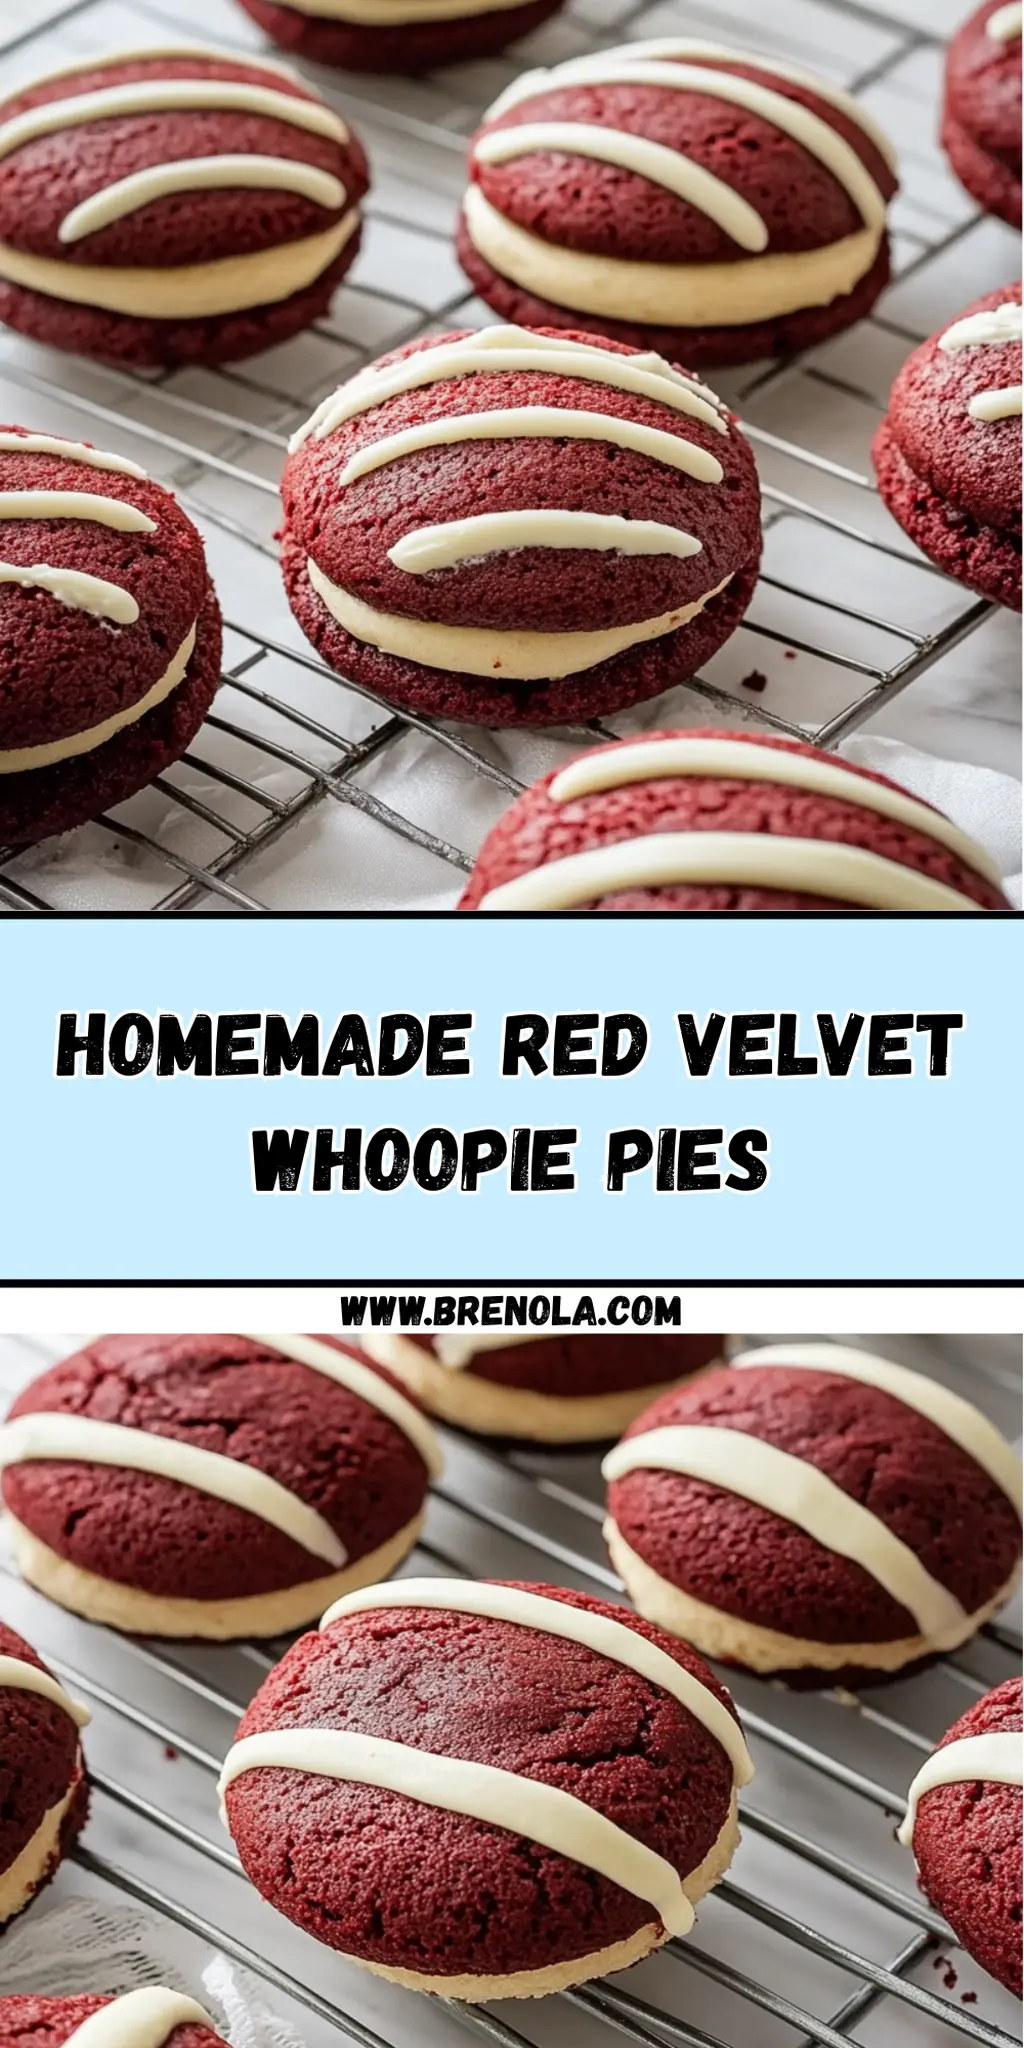
The moment I pulled these Homemade Red Velvet Whoopie Pies out of the oven, I knew I had stumbled upon a sweet masterpiece. The rich, velvety red hue of the cookies sparked joy in my heart, while the creamy cream cheese filling whispered promises of indulgence. There’s something inherently celebratory about whoopie pies; their soft, fluffy sides simply beckon you to take a bite.
After a hectic week, nothing lifts my spirits quite like crafting these delightful treats. They’re not just visually stunning but easy to whip up, making them perfect for any occasion—be it a cozy gathering with friends or simply a personal treat to savor at the end of a long day. Best of all, kids love them! So, let’s dive into this easy recipe and create something special that will have everyone asking for seconds. Trust me; once you taste that initial bite, you’ll forget all about fast food!
Why You'll Love This Homemade Red Velvet Whoopie Pies
- These Homemade Red Velvet Whoopie Pies are not only incredibly easy to make, but they also deliver a burst of delightful flavor that everyone will adore.
- The vibrant red color and creamy filling make them visually stunning, perfect for impressing guests at any gathering.
- Their versatility means you can enjoy them as a festive dessert or simply as a sweet treat to lift your spirits after a long week.
- Plus, this recipe is a definite crowd-pleaser that will have both kids and adults coming back for more.
- Don't miss out on the opportunity to indulge in these delicious little masterpieces!
Homemade Red Velvet Whoopie Pies Ingredients
Get ready to create something truly special with these essential ingredients!
For the Cookies
- Granulated sugar – adds sweetness and helps achieve that fluffy texture.
- All-purpose flour – gives structure; be sure to measure correctly for the right consistency.
- Natural unsweetened cocoa powder – enhances the chocolate flavor without adding sweetness.
- Baking powder – ensures the cookies rise and remain light.
- Baking soda – helps the cookies to puff up nicely.
- Salt – balances the sweetness for a more flavorful cookie.
- Egg – binds everything together, providing moisture and richness.
- Buttermilk – adds tang and helps create a tender crumb.
- Red liquid food dye – gives those iconic red velvet cookies their signature color.
- Unsalted butter – contributes to a rich, creamy texture; make sure it's softened for easy mixing.
- Vanilla extract – enhances the flavor with a delightful hint of sweetness.
For the Cream Cheese Filling
- Cream cheese – creates a rich, tangy filling that pairs wonderfully with the cookies.
- Unsalted butter – softens the filling and adds smoothness.
- Confectioners’ sugar – sweetens the filling and gives it that lovely creamy texture.
- Vanilla extract – adds a touch of flavor, making the filling irresistible.
With these simple yet essential ingredients, you’re on your way to baking the most delightful Homemade Red Velvet Whoopie Pies that will undoubtedly win hearts!
How to Make Homemade Red Velvet Whoopie Pies
-
Preheat oven: Begin by setting your oven to 375°F (190°C). This ensures your cookies bake evenly and develop the perfect texture. Don’t forget to line baking sheets with parchment paper for easy removal!
-
Sift dry ingredients: In a mixing bowl, sift together the flour, cocoa powder, baking soda, baking powder, and salt. This helps to aerate the mixture and combine the ingredients smoothly.
-
Mix dyed buttermilk: In a separate bowl, combine the buttermilk and red food dye. Stir until the color is evenly distributed. This will give your whoopie pies that iconic, vibrant red hue.
-
Cream butter and sugar: In a large bowl, cream the softened butter until it’s smooth. Gradually add the granulated sugar and beat until the mixture is fluffy and light. This might take 2-3 minutes, so be patient—you want it airy!
-
Add egg and vanilla: Crack in the room temperature egg and pour in the vanilla extract. Mix until fully combined, ensuring everything is rich and smooth.
-
Combine ingredients: Slowly alternate adding the dry mixture and dyed buttermilk to the butter-sugar mixture. Start with a third of the dry mixture, mix until blended, then add half the buttermilk. Repeat this pattern, ensuring you end with the dry ingredients.
-
Mix gently: Carefully mix the batter just until combined. Overmixing can lead to tough cookies, so stop when you no longer see dry flour.
-
Shape on sheets: Drop tablespoon-sized portions of batter onto your lined baking sheets, leaving about 2 inches between each cookie. With wet fingers, gently smooth the tops for a lovely finish.
-
Bake: Place the sheets in the preheated oven and bake for 9–11 minutes. They should spring back when touched and will look beautifully puffed. Cool them on a wire rack.
-
Prepare the filling: For the fluffy cream cheese filling, beat the softened butter in a bowl until creamy. Blend in the cream cheese until smooth and integrated.
-
Add the sugar: Gradually add the sifted confectioners’ sugar and vanilla extract to the mixture. Continue to mix until it’s creamy and indulgently smooth.
-
Assemble whoopie pies: Take one cookie and spread or pipe the cream cheese filling onto its flat side. Top it with another cookie to create a delightful sandwich.
Optional: Dust with confectioners’ sugar for a lovely finishing touch!
Exact quantities are listed in the recipe card below.
How to Store and Freeze Homemade Red Velvet Whoopie Pies
Room Temperature: Store whoopie pies in an airtight container at room temperature for up to 3 days. This keeps them soft and fresh, ready for a quick treat!
Fridge: If you prefer them chilled, these whoopie pies can be kept in the fridge for up to a week. Just make sure to seal them tightly to prevent drying out.
Freezer: For longer storage, freeze the assembled whoopie pies in an airtight container or freezer bag for up to 2 months. Ensure they’re wrapped individually to prevent sticking.
Thawing: When ready to enjoy, transfer the frozen whoopie pies to the fridge overnight or let them sit at room temperature for about an hour. They will be just as delightful as fresh!
What to Serve with Homemade Red Velvet Whoopie Pies?
Imagine a cozy gathering with friends where the delightful flavors of your homemade treats are just waiting to be complemented by the perfect sides and sips.
-
Rich Vanilla Ice Cream: The creamy vanilla adds a cool contrast, making each whoopie pie bite even more indulgent and decadent.
-
Fresh Berries: Juicy strawberries or raspberries brighten the plate and offer a refreshing tartness that balances the sweetness of the cookies.
-
Chocolate Milkshake: The classic chocolate milkshake brings a nostalgic touch, pairing wonderfully with the rich cocoa flavor of the whoopie pies for a delightful treat.
-
Hot Coffee or Espresso: The bold, bitter notes of coffee enhance the sweetness, creating a harmonious balance that elevates your dessert experience to new heights.
-
Caramel Sauce: Drizzling warm caramel over the whoopie pies adds a luscious, buttery flavor that will leave everyone craving more.
-
Mint Tea: The fresh, herbal notes of mint tea provide a light and refreshing contrast, cleansing the palate between bites.
-
Creamy Cheesecake: For a more indulgent experience, serve tiny slices of creamy cheesecake alongside for a double dessert delight.
-
Sparkling Lemonade: The fizzy, sweet-tart lemonade adds a refreshing pop, making each bite of whoopie pie feel like a celebration.
-
Chocolate-Covered Strawberries: Pairing these with your whoopie pies creates an elegant dessert board that charms any sweet tooth.
Homemade Red Velvet Whoopie Pies Variations
Feel free to put your own spin on these delightful treats and make them truly yours!
-
Dairy-Free: Substitute dairy with almond or coconut milk in the batter and use dairy-free cream cheese for the filling. The flavor remains rich and indulgent!
-
Gluten-Free: Replace all-purpose flour with a gluten-free flour blend. Ensure the baking powder is also gluten-free for perfect results.
-
Chocolate Lovers: Add ½ cup of mini chocolate chips to the batter for a sweet surprise in every bite. The combination of chocolate and red velvet is always a winner!
-
Spiced Up: Incorporate a teaspoon of cinnamon or nutmeg for a warm, spiced flavor that elevates the classic whoopie pie. It adds a comforting twist perfect for cozy evenings.
-
Mini Whoopie Pies: Create bite-sized versions by dropping ½ tablespoon portions of batter onto the baking sheet. They make perfect treats for parties or school lunches!
-
Nutty Addition: Fold in ½ cup of finely chopped nuts, like pecans or walnuts, into the batter for an added crunch and flavor depth. It gives a fantastic texture contrast!
-
Fruity Twist: Mix in ¼ cup of crushed raspberries or strawberries into the cream cheese filling for a fruity and vibrant surprise that enhances the overall taste.
-
Lavender Infusion: Add a teaspoon of culinary lavender to the batter for a subtle floral note that complements the sweetness beautifully. It's a unique twist that will amaze your guests!
Make Ahead Options
These Homemade Red Velvet Whoopie Pies are perfect for busy weeknights or any occasion when you want to save time! You can prepare the cookie dough up to 24 hours in advance; just cover it tightly and refrigerate. Alternatively, bake the whoopie pie cookies ahead and store them in an airtight container for up to 3 days, ensuring they remain soft and delicious. For the cream cheese filling, make it ahead as well and keep it refrigerated for up to 3 days; just give it a quick stir before using. When you’re ready to assemble, simply spread the filling between the cooled cookies, and you’ll have fresh, delightful Homemade Red Velvet Whoopie Pies ready to enjoy in no time!
Chef's Helpful Tips
- When making Homemade Red Velvet Whoopie Pies, ensure your butter is at room temperature for easier creaming with sugar to achieve that airy texture.
- A common mistake is overmixing the batter; mix just until combined after adding the dry ingredients and buttermilk to keep your cookies tender.
- For a vibrant red hue, add food dye gradually and mix well to avoid streaks in your batter.
- Remember to bake your cookies for 9–11 minutes until they spring back when touched, ensuring the perfect texture for your whoopie pies.
Homemade Red Velvet Whoopie Pies Recipe FAQs
What kind of flour should I use for these whoopie pies?
You should use all-purpose flour for making Homemade Red Velvet Whoopie Pies, as it provides the right structure and texture. I recommend measuring accurately by spooning the flour into your measuring cup and leveling it off for the best results!
How long can I store Homemade Red Velvet Whoopie Pies at room temperature?
Absolutely! You can store the whoopie pies at room temperature in an airtight container for up to 3 days. Just make sure to keep them away from direct sunlight to maintain their softness and flavor.
Can I freeze Homemade Red Velvet Whoopie Pies?
Yes, indeed! To freeze them, wrap each assembled whoopie pie in plastic wrap and place them into an airtight freezer bag. They can be stored in the freezer for up to 2 months. When you're ready to enjoy, simply thaw them in the fridge overnight or leave them out for about an hour at room temperature.
What should I do if my cookies spread too much while baking?
Very! If your whoopie pies spread, it’s likely due to the butter being too warm. Make sure your butter is softened, but not melted—room temperature is just right. Also, chilling your cookie dough for about 30 minutes before baking can help prevent excessive spreading.
Can my pets eat whoopie pies?
Great question! While Homemade Red Velvet Whoopie Pies are a delightful treat for us, they are not suitable for our furry friends. The cream cheese and sugar can be harmful to pets, so be sure to keep these away from them. For a pet-safe treat, consider making special biscuits just for them!
Is there a way to adjust this recipe for gluten-free baking?
Absolutely! If you need to make these whoopie pies gluten-free, substitute the all-purpose flour with a gluten-free flour blend. Ensure the blend contains xanthan gum for structure. You might need to adjust the liquid slightly since gluten-free flours can absorb more moisture, so keep an eye on the dough’s consistency!
Homemade Red Velvet Whoopie Pies
Ingredients
Equipment
Method
- Preheat oven to 375°F (190°C) and line baking sheets with parchment paper.
- Sift together flour, cocoa powder, baking soda, baking powder, and salt.
- Combine buttermilk and red food dye in a separate bowl, stirring until evenly mixed.
- Cream softened butter until smooth, then gradually add granulated sugar and beat until fluffy.
- Add egg and vanilla extract, mixing until fully combined.
- Alternately add the dry mixture and dyed buttermilk to the butter-sugar mixture.
- Mix the batter gently until just combined to avoid toughness.
- Drop tablespoon-sized portions of batter onto lined baking sheets, smoothing tops with wet fingers.
- Bake for 9-11 minutes until puffed and springy; cool on a wire rack.
- Beat softened butter until creamy, then blend in cream cheese until smooth for the filling.
- Add sifted confectioners’ sugar and vanilla extract, continuing to mix until creamy.
- Spread or pipe filling onto flat side of a cookie, then top with another cookie to assemble.


Leave a Reply