The moment I cracked open the oven door, a wave of sweet, chocolaty aroma enveloped my kitchen, instantly brightening my day. When I decided to whip up these Red Velvet Brownies, I wanted something that combined the rich flavor of cocoa with a dazzling pop of color. This recipe does just that, transforming ordinary brownies into a delightful treat that captures both your eyes and your taste buds.
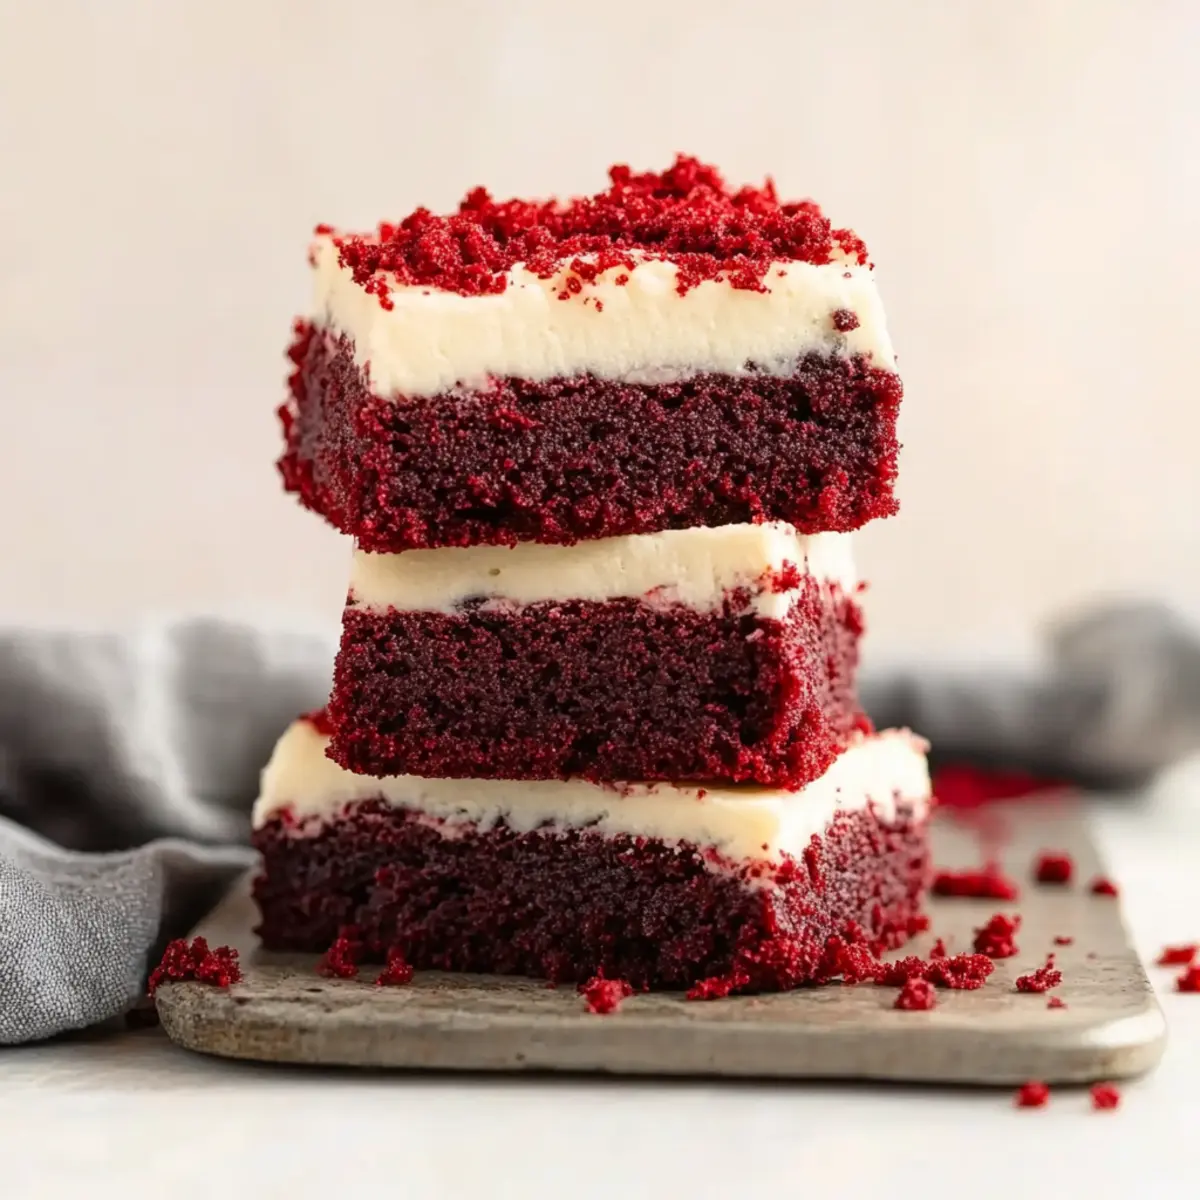
Perfect for sharing at parties or culturing indulgence on a quiet evening, these brownies are as versatile as they are easy to make. In just 40 minutes, you can create a batch that boasts a fudgy texture, complimented by the creamy sweetness of the frosting and a hint of vanilla. You’ll find that the rich red hue doesn’t merely elevate their appearance—it adds a layer of excitement and festivity. Whether you're cozying up with a book or entertaining friends, these Red Velvet Brownies will undoubtedly become a cherished addition to your dessert repertoire. Let's dive into making these irresistible delights!
Why You'll Love This Red Velvet Brownies
- These Red Velvet Brownies are incredibly easy to make, allowing you to whip up a delicious dessert in just 40 minutes.
- The rich flavor of cocoa paired with the luscious cream cheese frosting makes for an irresistible treat that will have everyone coming back for more.
- Their striking red color adds a festive touch, making them perfect for celebrations or special occasions.
- Not only are they crowd-pleasers, but their versatility means you can enjoy them at any gathering or cozy night in.
Red Velvet Brownies Ingredients
For the Brownies
• ¾ stick (85g) unsalted butter – adds richness and moisture to your Red Velvet Brownies.
• 1 cup (200g) granulated sugar – sweetens the brownies and helps achieve a soft texture.
• ¼ cup (55g) light brown sugar – enhances flavor with a hint of caramel.
• 3 large eggs – provides structure and moisture for a fudgy brownie.
• 1 large egg yolk – enriches the batter for a dense, chewy texture.
• 1 teaspoon vanilla extract – adds depth and warmth to the flavor profile.
• ⅓ cup (80ml) vegetable oil – ensures that your brownies stay moist and fudgy.
• ¼ cup (25g) Dutch-processed cocoa powder – contributes a rich chocolate flavor and beautiful color.
• ¾ cup (90g) all-purpose flour – gives structure to the brownies without making them cakey.
• 1 tablespoon vinegar (white or white wine vinegar) – enhances the red color and balances flavors.
• 1 tablespoon cornstarch – adds tenderness and helps prevent dryness.
• ¼ teaspoon salt – elevates the sweetness and balances the overall taste.
• ½ teaspoon red gel food coloring – ensures a vibrant red hue that makes these brownies stand out.
• ¾ cup (127g) white chocolate chips (optional) – adds a sweet contrast to the cocoa flavor.
For the Frosting
• 4 oz (114g) cream cheese – adds a tangy creaminess that perfectly complements the sweetness.
• ¾ stick (85g) unsalted butter (for frosting) – creates a smooth, rich texture in the frosting.
• 4 cups (480g) powdered sugar – sweetens and thickens the frosting for easy spreading.
• 1 teaspoon vanilla extract (for frosting) – adds a touch of flavor that ties everything together.
How to Make Red Velvet Brownies
-
Preheat and Prepare: Start by preheating your oven to 350°F (180°C). Line an 8-inch square pan with parchment paper to ensure easy removal later. This step is crucial for achieving perfect edges!
-
Melt and Combine: Melt the ¾ stick of unsalted butter in a large bowl. Once melted, mix in both sugars until well combined, creating a glossy mixture that’s full of sweetness.
-
Add Eggs: Crack in the 3 large eggs and 1 egg yolk, along with the 1 teaspoon of vanilla extract. Stir gently to combine, being careful not to whisk too much air into the batter, as we want luscious, dense brownies.
-
Incorporate Oil and Cocoa: Pour in the ⅓ cup of vegetable oil and add the ¼ cup of Dutch-processed cocoa powder. Mix until the batter is smooth and chocolatey—this is where the magic begins!
-
Color the Batter: Take a small portion of the batter and mix in ½ teaspoon of red gel food coloring. Then, stir it back into the main batter for that eye-catching, vibrant red hue.
-
Fold in Dry Ingredients: Gently fold in the ¾ cup of all-purpose flour, 1 tablespoon of cornstarch, and ¼ teaspoon of salt until just combined. Be cautious not to overmix; we want to maintain that fudgy texture.
-
Add Vinegar and Chips: Drizzle in the 1 tablespoon of vinegar and toss in the optional ¾ cup of white chocolate chips for a delightful sweet surprise. This addition complements the richness beautifully!
-
Pour and Smooth: Pour the brownie batter into the prepared pan, smoothing the top with a spatula to ensure even baking. Get ready for the heavenly aroma to fill your kitchen!
-
Bake to Perfection: Bake in the preheated oven for 20–25 minutes, or until a toothpick inserted into the center comes out with moist crumbs. You want them soft and fudgy!
-
Cool Completely: Allow the brownies to cool completely in the pan before frosting. Patience is key here—this step helps the frosting adhere beautifully.
-
Frosting Magic: For the frosting, beat together 4 oz of softened cream cheese and ¾ stick of butter until smooth and creamy. Don’t rush; this mix should be silky!
-
Sweeten the Frosting: Gradually add in the 4 cups of powdered sugar and 1 teaspoon of vanilla extract. Whip until fluffy and delightful—this frosting will be the perfect finishing touch!
-
Frost and Cut: Spread the luscious frosting over your cooled brownies and slice them into 16 square servings. Each piece promises an indulgent treat you won’t be able to resist!
Optional: Top with extra white chocolate chips for a delicious finishing touch.
Exact quantities are listed in the recipe card below.
How to Store and Freeze Red Velvet Brownies
Room Temperature: Store brownies in an airtight container at room temperature for up to 3 days for optimal freshness.
Fridge: Keep your Red Velvet Brownies in the fridge for up to 1 week. Just be sure to wrap them tightly in plastic wrap to maintain their moisture.
Freezer: For longer storage, freeze brownies in an airtight container for up to 3 months. Just thaw them at room temperature when you're ready to indulge!
Reheating: If desired, warm the brownies in the microwave for 10-15 seconds before enjoying, allowing the fudgy texture to shine through!
What to Serve with Red Velvet Brownies?
Imagine a dessert spread that dances with flavors and treats, creating perfect harmony with your delightful brownies.
- Vanilla Ice Cream: The cool, creamy sweetness of vanilla ice cream enhances the richness of the brownies, creating a beautifully balanced dessert experience.
- Fresh Berries: Juicy strawberries or raspberries add a tartness that cuts through the sweetness, providing a refreshing contrast on your palate.
- Chocolate Drizzle: A warm chocolate drizzle over the top not only adds an extra layer of decadence but also elevates the presentation of your delightful brownies.
- Whipped Cream: Light and airy whipped cream brings a softness to each bite, making for a delightful pairing that feels indulgent yet balanced.
- Coffee: A steaming cup of coffee enhances the chocolate flavors while providing a comforting warmth, making it perfect for a cozy evening treat.
- Milk: For a classic pairing, a glass of cold milk complements the fudgy texture, washing down each bite beautifully and making it more comforting.
- Mint Sprigs: A sprig of fresh mint on top adds a pop of color and a refreshing flavor that beautifully contrasts the sweetness of the brownies.
- Caramel Sauce: Drizzling warm caramel sauce adds a buttery richness that melds beautifully with the flavors of the brownies, making it an irresistible choice.
Make Ahead Options
These Red Velvet Brownies are perfect for busy weeknights or gatherings, allowing you to prep in advance for an effortless baking experience! You can prepare the brownie batter up to 24 hours ahead by mixing all the ingredients and storing it in an airtight container in the refrigerator. This prevents any browning and maintains the fudgy texture. When you're ready to bake, simply pour the chilled batter into the prepared pan and bake as instructed. The frosting can also be made up to 3 days in advance; just keep it in the refrigerator. When it's time to serve, whip the frosting again for that fresh, fluffy texture before spreading it on your cooled brownies. Enjoy a delightful dessert with minimal effort, all while keeping the taste just as delectable!
Red Velvet Brownies Variations
Feel free to personalize these brownies with delightful twists that enrich their flavors and textures.
-
Gluten-Free: Substitute all-purpose flour with a 1:1 gluten-free flour blend for a flawless gluten-free version. This allows everyone to enjoy the fudgy delight!
-
Nutty Addition: Fold in ½ cup of chopped walnuts or pecans for a nice crunch and added richness. The nuts complement the creamy frosting beautifully, creating a delightful contrast.
-
Vegan-Friendly: Use ¼ cup unsweetened applesauce for eggs, coconut oil for butter, and a plant-based cream cheese for frosting. You won’t miss the animal products, and your brownies will still be decadent!
-
Minty Fresh: Add ½ teaspoon of peppermint extract to the brownie batter for a refreshing twist. Just a hint of mint makes each bite feel like a celebration of flavors!
-
Spicy Kick: For a surprising depth, sprinkle in ¼ teaspoon of cayenne pepper or chili powder. The heat contrasts with the sweetness and enriches the overall experience—perfect for adventurous palates.
-
Caramel Swirl: Drizzle homemade or store-bought caramel sauce into the batter before baking for a luscious surprise. This extra layer of sweetness elevates these brownies to heavenly heights!
-
Nut Butter: Swap out the vegetable oil with almond or peanut butter for a deeper, nuttier flavor. This enhances the richness while making the brownies even more indulgent.
-
Double Chocolate: Up the chocolate factor by adding an extra ¼ cup of cocoa powder or a cup of chocolate chips to the batter. This twist will delight any chocolate lover!
With these variations, your Red Velvet Brownies can become a unique treat that matches your mood or celebration—all while keeping that signature fudgy deliciousness intact!
Chef's Helpful Tips
- When making Red Velvet Brownies, ensure your butter is just melted and not hot to maintain a smooth batter.
- A common mistake is overmixing after adding the flour; gently fold until just combined to keep them fudgy.
- For a richer flavor, consider using high-quality Dutch-processed cocoa powder, which adds depth.
- Always check for doneness a couple of minutes early, as ovens can vary; you want a toothpick to come out with moist crumbs, not wet batter.
Red Velvet Brownies Recipe FAQs
What type of cocoa powder is best for Red Velvet Brownies?
Absolutely! Using Dutch-processed cocoa powder is key for achieving that rich chocolate flavor with a beautiful color. This type of cocoa powder has been treated to neutralize its acidity, which works perfectly with the vinegar in the recipe, enhancing the brownies' overall taste and color.
How should I store Red Velvet Brownies?
To keep your delightful brownies fresh, store them in an airtight container at room temperature for up to 3 days, or in the fridge for up to 1 week. If you choose the fridge option, wrap them tightly in plastic wrap to prevent them from drying out.
Can I freeze Red Velvet Brownies?
Yes, indeed! To freeze your brownies, first, ensure they are completely cooled. Wrap them tightly in plastic wrap and then place them in an airtight container. These brownies can be frozen for up to 3 months. When you’re ready to enjoy, simply thaw them at room temperature. If you prefer them warm, pop them in the microwave for 10-15 seconds!
How can I prevent my Red Velvet Brownies from being dry?
Great question! To maintain a fudgy texture, avoid overmixing your batter once you add the flour. Mix until just combined, as overworking the batter can cause the brownies to turn out dry. Also, remember to keep a close eye on them while baking; the perfect toothpick test is when it comes out with moist crumbs, not wet batter.
Can I modify this recipe for allergies?
Certainly! If you're dealing with gluten sensitivities, you can try substituting the all-purpose flour with a gluten-free blend. For dairy allergies, consider using plant-based butter and cream cheese alternatives. And if you prefer a vegan version, you can replace eggs with a flaxseed meal (1 tablespoon of flaxseed meal mixed with 2.5 tablespoons of water equals one egg).
Are Red Velvet Brownies safe for pets?
Very! While some ingredients like chocolate are harmful to pets, the amount in a brownie is minimal. However, it’s always best to avoid sharing human desserts with your furry friends just to be safe. If you're curious about safe treats for pets, consider making special recipes just for them!
Enjoy your baking journey with these creamy, rich Red Velvet Brownies!
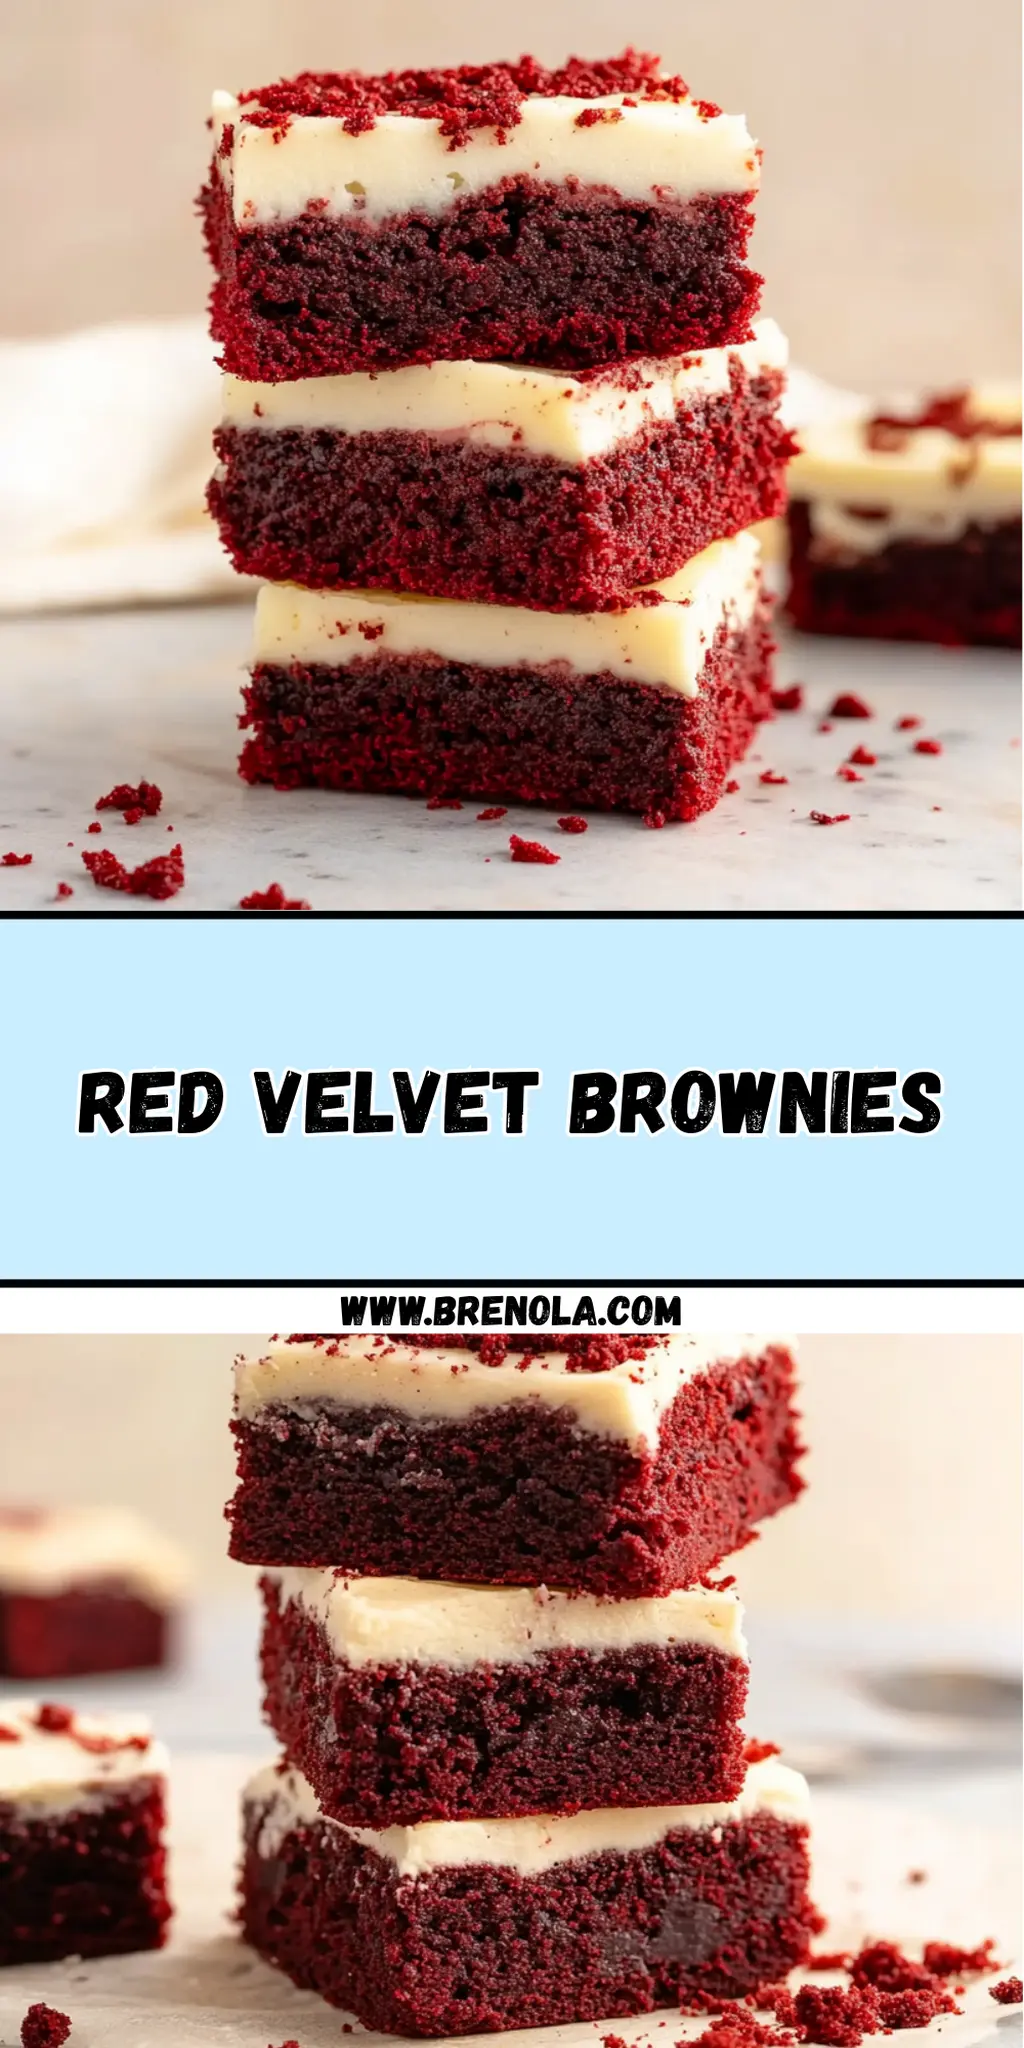
Red Velvet Brownies
Ingredients
Equipment
Method
- Preheat your oven to 350°F (180°C) and line an 8-inch square pan with parchment paper.
- Melt the unsalted butter in a large bowl and mix in both sugars until combined.
- Add the eggs and egg yolk, and vanilla extract. Stir gently to combine.
- Incorporate the vegetable oil and cocoa powder until the batter is smooth.
- Mix a small portion of the batter with the red food coloring and then stir it back in.
- Fold in the flour, cornstarch, and salt until just combined.
- Drizzle in the vinegar and toss in the white chocolate chips, if using.
- Pour the batter into the prepared pan, smoothing with a spatula.
- Bake for 20–25 minutes or until a toothpick comes out with moist crumbs.
- Allow the brownies to cool completely in the pan before frosting.
- Beat together the cream cheese and butter until smooth.
- Gradually add the powdered sugar and vanilla, whipping until fluffy.
- Frost the cooled brownies and slice into 16 servings.


Leave a Reply